Contact Us For a Free Qoute
How To Stop A Cellar Flooding Fast
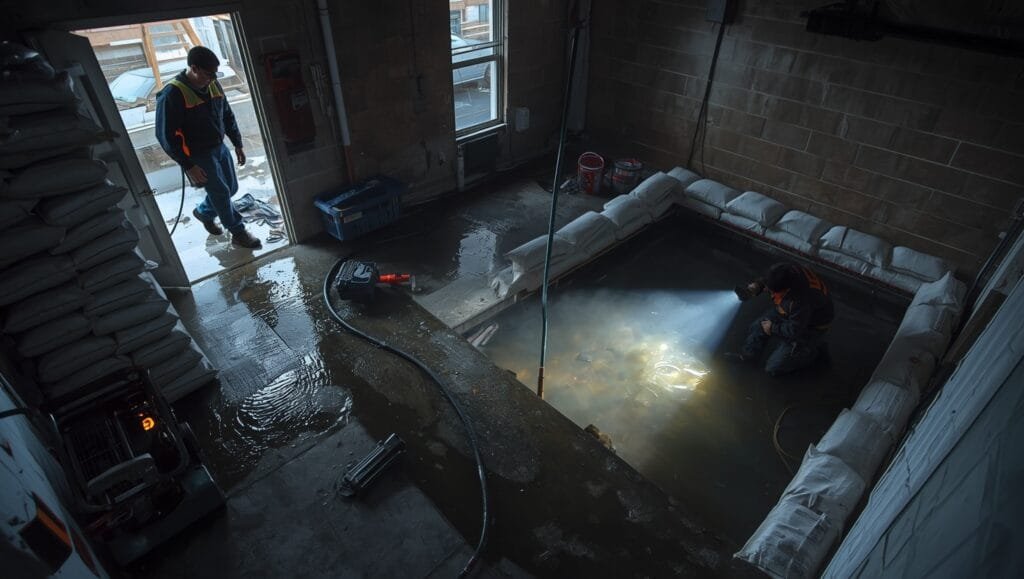
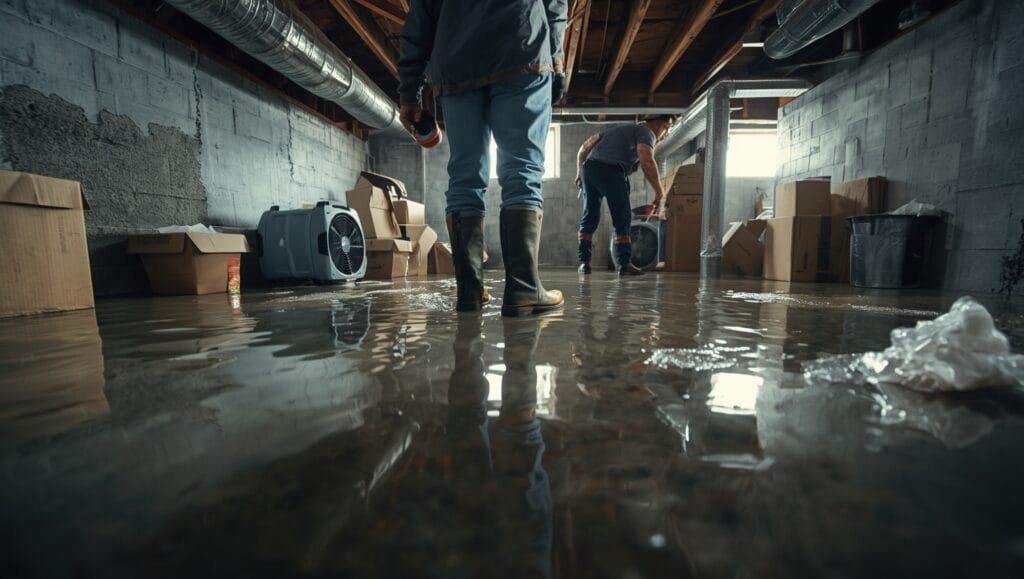
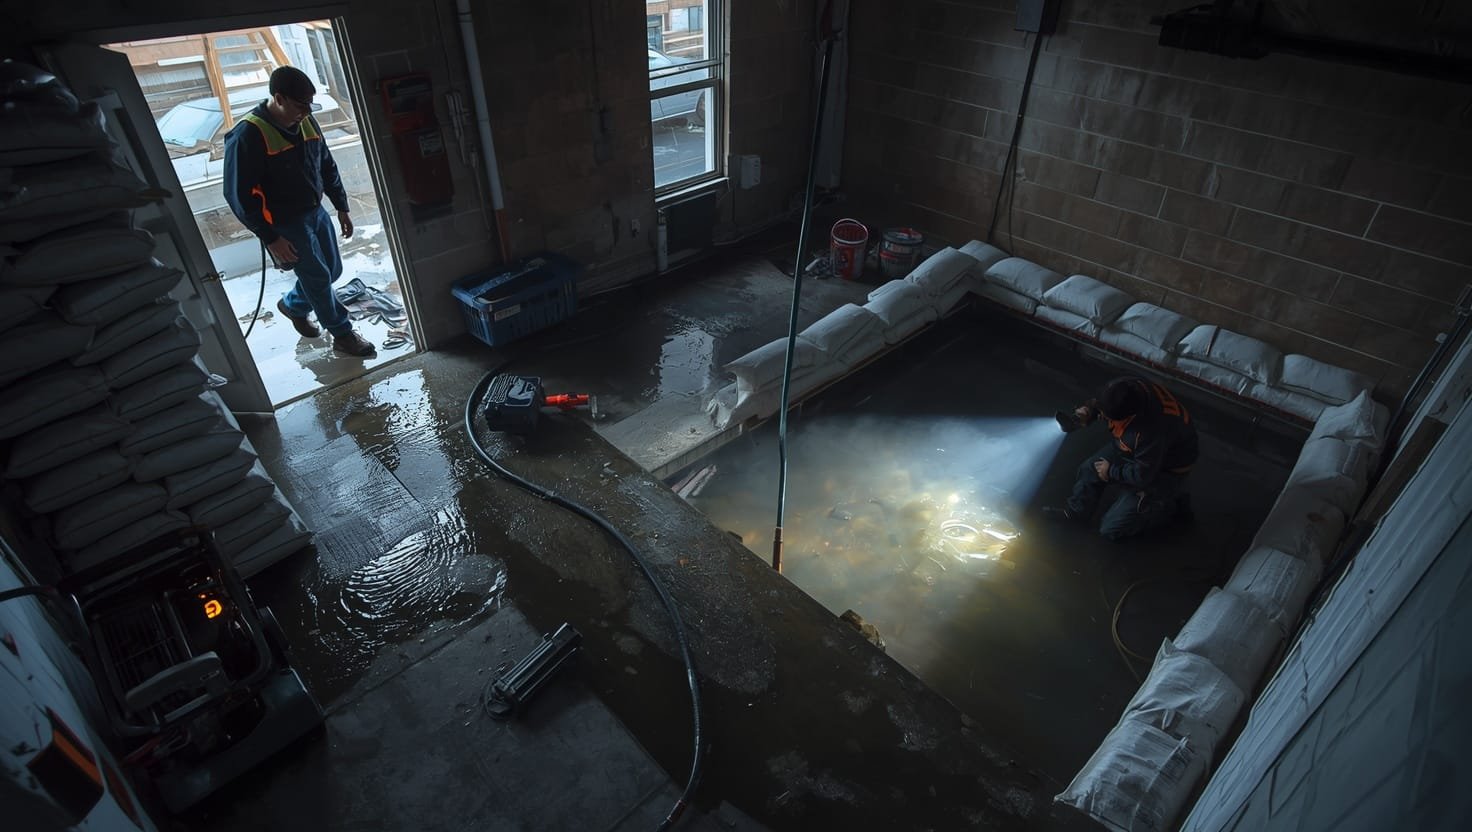
Your Cellar Just Flooded. Now What? How to Stop a Cellar Flooding Before It Destroys Everything
Water’s pouring in, your stuff’s getting soaked, and you’re wondering how you missed this coming.
The truth is—most people don’t see a cellar flood until it’s too late. One homeowner in Rochester called Healthy Spaces after discovering their basement was flooded with three feet of water. By the time they noticed the problem, structural damage was already spreading, and mold had started taking hold in the walls. The repair bill? Over $40,000.
That doesn’t have to be your story.
Learning how to stop a cellar flooding isn’t complicated, but it does require knowing where water comes from and what to do about it fast. The good news? Most cellar floods are preventable. Some are even fixable before they become disasters. This guide breaks down exactly what you need to know—and more importantly, what you need to do—to keep your cellar dry.
Why Cellars Flood (And Why It Happens Faster Than You Think)
Water finds its way into cellars through pressure, gravity, and cracks you probably didn’t know existed.
Here’s the reality: your cellar sits below ground level. That means water from rain, melting snow, and groundwater is literally pushing against your foundation walls and floor constantly. If there’s even a small gap, water will find it. And yeah, water’s relentless.
The most common culprits are:
- Hydrostatic pressure — Water-saturated soil pressing against basement walls, forcing water through cracks and seams.
- Poor grading around your foundation — If the ground slopes toward your house instead of away from it, water runs straight to your cellar.
- Clogged gutters and downspouts — Water dumps right next to your foundation instead of being directed away.
- Foundation cracks — Even hairline fractures let water seep in, especially during heavy rain or spring thaw.
- Sump pump failure — If your pump stops working or can’t keep up with water volume, your cellar fills up fast.
- Basement window wells — These collect water and channel it straight through the window frame if not properly sealed.
The scary part? You might not know you have a problem until water’s already pooling on your cellar floor.
Bottom line: Cellar floods happen because water pressure wins—unless you stop it first.
The Immediate Response: First 24 Hours Matter
Your cellar’s flooding right now. What do you do?
First—don’t panic, but do move fast. The first 24 hours determine whether you’re dealing with water damage or water damage plus mold, structural issues, and electrical problems.
Step 1: Stop the water source if you can
If water’s coming from a burst pipe or overflowing gutter, shut off the water supply or clear the gutter immediately. If water’s coming from the ground (seeping through walls or floor cracks), you can’t stop it yourself—you’ll need professional help. But don’t wait.
Step 2: Turn off electricity to the affected area
Water and electricity don’t mix. If there’s standing water near outlets, switches, or your electrical panel, shut off power to that section from the breaker box. If you’re not sure where your breaker box is or how to use it, call an electrician. This isn’t the time to guess.
Step 3: Document everything
Take photos and videos of the water damage—before you touch anything. Your insurance company will need this. Get shots of water levels on walls, damaged items, and the overall scope of the flooding. Videos showing the water actively coming in are gold.
Step 4: Remove what you can safely
Get valuables, important documents, and anything irreplaceable out of the cellar. Don’t wade through deep water without knowing what’s underneath—sharp objects, electrical hazards, and contaminated water are real risks.
Step 5: Call a professional water removal company
This is where speed saves money. Professional crews have pumps, dehumidifiers, and extraction equipment that work faster than renting gear yourself. They also know how to handle contaminated water safely. Mark Frillici and the team at Healthy Spaces have been responding to flooded cellars in Rochester for nearly 20 years—they can get water out and drying equipment running within hours, not days.
Bottom line: The first day determines your damage bill—move fast and call professionals immediately.
Understanding Water Removal vs. Drying (They’re Not the Same Thing)
Here’s where most homeowners make a mistake.
They pump the water out and think they’re done. Wrong.
Removing standing water is just the first step. What kills homes is the moisture left behind—in walls, under flooring, in insulation, and in wood framing. That moisture becomes mold within 24 to 48 hours. And yeah, mold’s a beast.
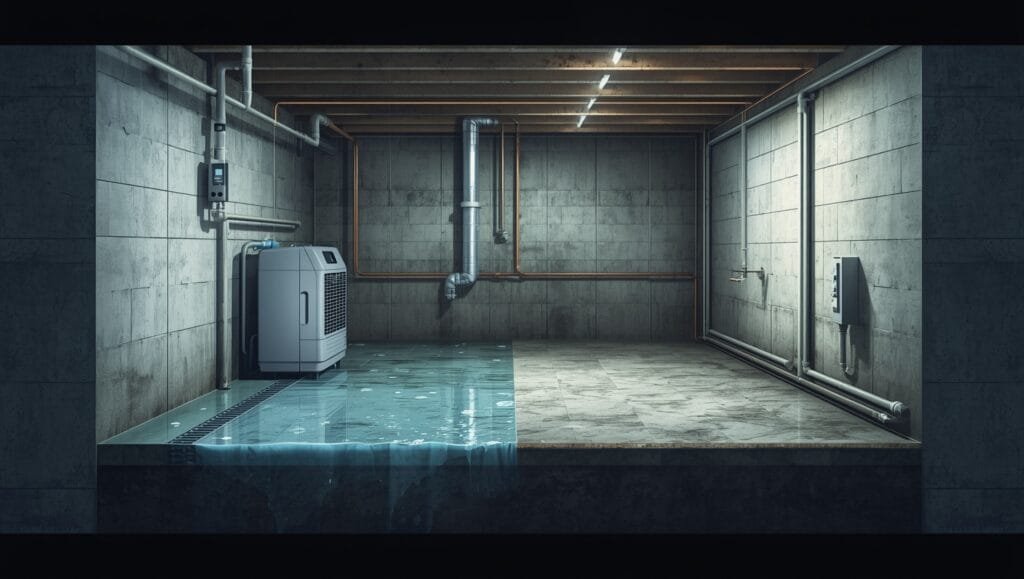
Proper drying requires industrial-grade dehumidifiers and air movers running continuously for days—sometimes weeks—depending on how much water got in and how deep it penetrated. A standard household fan won’t cut it. You need equipment that pulls moisture out of materials, not just moves air around.
This is why hiring professionals matters. They know the science of drying and have the equipment to do it right. Cutting corners here costs you thousands in mold remediation later.
Bottom line: Removing water is 20% of the job; proper drying is the other 80%.
Preventing Future Cellar Floods: The Real Solution
Once you’ve dealt with the immediate flood, the question becomes: how do you stop this from happening again?
There’s no single answer because every cellar’s different. But the most effective solutions combine multiple approaches:
Exterior waterproofing
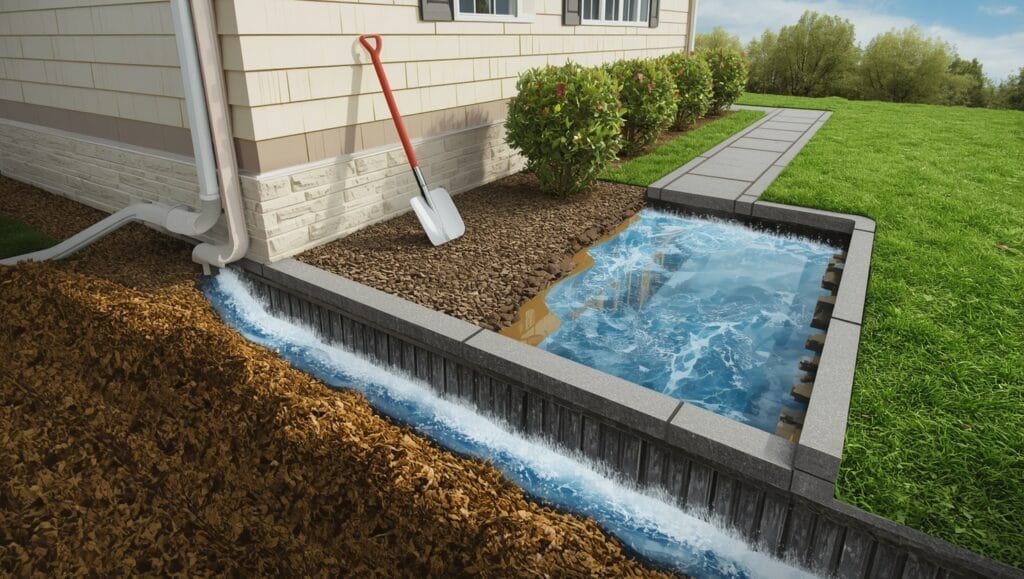
This tackles the root cause—water pushing against your foundation. Exterior waterproofing involves excavating around your foundation, applying a waterproof membrane, and installing perimeter drainage that channels water away from your cellar. It’s expensive upfront but stops problems at the source. Proper drainage systems redirect groundwater before it ever touches your foundation walls.
Interior sump pump systems
If excavation isn’t practical (or if you’re renting), a sump pump collects water that enters your cellar and pumps it away before it spreads. The key is making sure it’s sized correctly for your water volume and has a backup power source. When the main pump fails during a storm—and they do—that backup pump keeps working.
Foundation crack repair
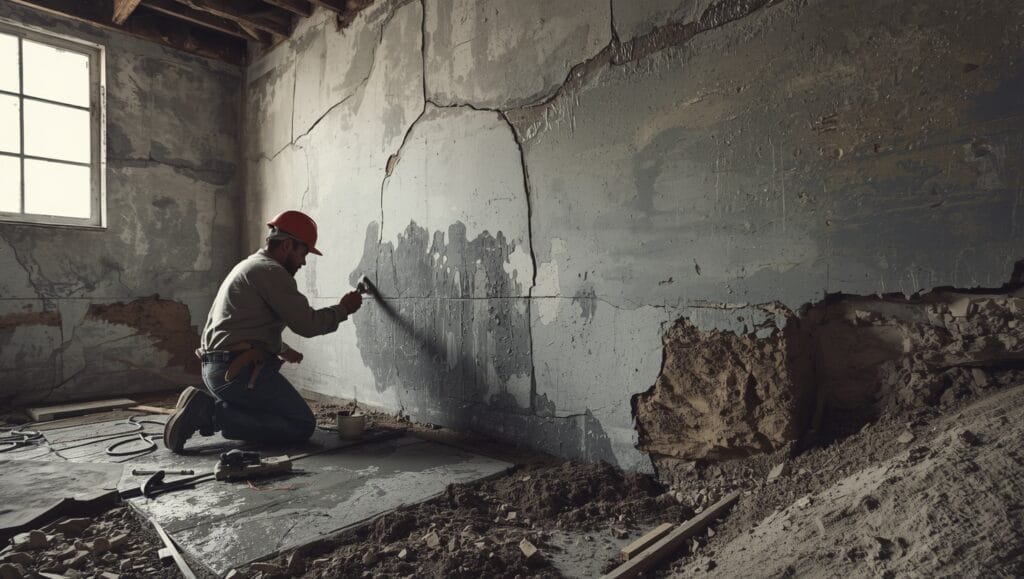
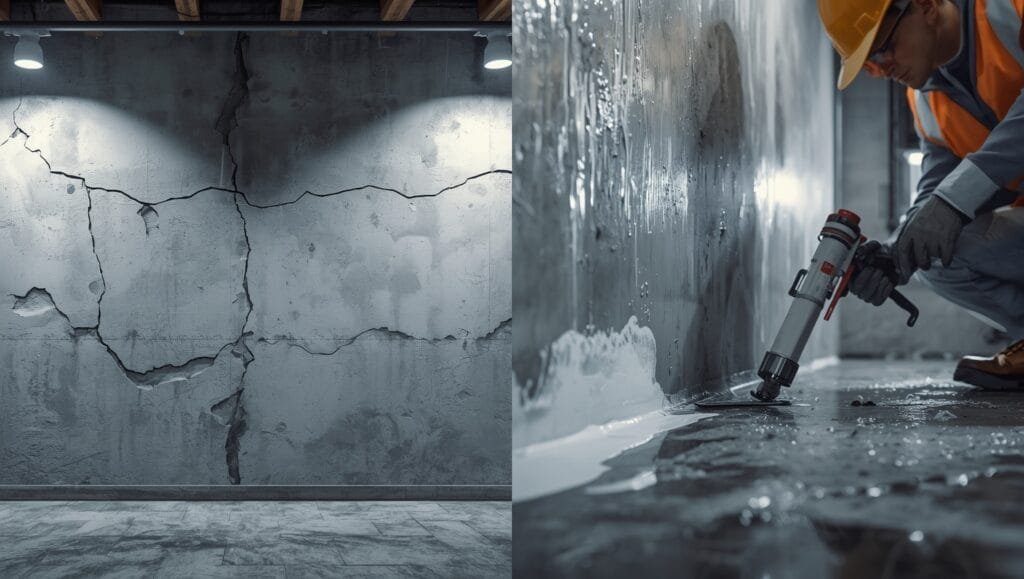
Hairline cracks let water in. Larger cracks are serious structural issues. Epoxy or polyurethane injections seal small cracks; larger ones need professional foundation repair to prevent collapse and water intrusion.
Grading and gutter management
Slope your ground away from the foundation (at least 6 inches of drop over 10 feet). Clean gutters regularly, and extend downspouts at least 4-6 feet away from the foundation. This is cheap prevention that stops water before it reaches your cellar.
Basement window well sealing
Window wells are notorious water entry points. Install window well covers and seal the frames with waterproof caulk. During heavy rain, these wells can fill up fast—covers prevent water from pooling right at your window.
Dehumidification
Even without flooding, cellars stay damp. A whole-cellar dehumidifier keeps moisture levels controlled, preventing mold growth and protecting stored items.
Bottom line: Stop cellar flooding by combining exterior drainage, sump pumps, and foundation repair—not just one.
What About Mold After the Water Dries?
Here’s the part that keeps homeowners up at night.
Even after water’s gone and the cellar’s dry, mold can be hiding in walls, insulation, and wood. You might not see it for weeks—but it’s growing. Professional mold remediation involves identifying where mold’s hiding, containing it, removing contaminated materials, and treating the space so it doesn’t come back.
This is why a post-flood mold inspection catches problems early. Professionals use moisture meters and thermal imaging to find water that’s trapped where you can’t see it. Catching mold early saves thousands compared to letting it spread through your cellar.
Bottom line: Mold follows water—get your cellar inspected after any flood.
The Cost of Waiting vs. The Cost of Acting
Let’s talk money because it matters.
A minor cellar flood caught and treated fast? $2,000 to $5,000 for professional water removal and drying.
That same flood ignored for a week? $10,000 to $25,000 when mold, structural damage, and contamination get involved.
A cellar that floods repeatedly without fixes? You’re looking at $30,000 to $75,000—or more—in foundation repair, mold remediation, and structural restoration. Plus, your property value drops. Insurance companies notice patterns too.
Prevention is cheaper. A properly installed sump pump system costs $1,500 to $3,500. Exterior waterproofing runs $5,000 to $15,000 depending on your foundation size. Those investments stop problems before they start.
One homeowner in Rochester spent $8,000 on a sump pump and drainage system after their first flood. They’ve had zero flooding in the 12 years since. Another homeowner in the same neighborhood kept putting it off. Their third flood cost them $60,000 and a gutted cellar.
The math is simple: prevention is an investment; repeated repairs are a money pit.
Bottom line: Fix the problem once or pay for it three times over.
Your Sump Pump Failed During the Storm. Now Your Cellar’s Drowning. Here’s How to Stop a Cellar Flooding Before It Happens Again
You wake up to that sound—water rushing, gurgling, pooling where it shouldn’t be. Your sump pump’s dead. The backup power failed. And now you’re standing in your cellar watching thousands of dollars worth of damage happen in real time.
This isn’t a worst-case scenario. It’s Tuesday for homeowners who didn’t plan ahead.
The difference between a minor inconvenience and a catastrophic flood often comes down to one thing: knowing what systems to have in place and when to call for help. Most people think about waterproofing after the water’s already in. By then, you’re playing catch-up—and catching up costs money.
This part of the guide walks you through the systems that actually work, the mistakes homeowners make when installing them, and how to know if your current setup is enough to handle what Mother Nature throws at you.
Why Your Current Sump Pump Isn’t Enough (And What You’re Missing)
Sump pumps save lives.
But a single sump pump with no backup is a gamble you’re taking every time it rains.
Here’s what happens: A storm hits, water starts pooling in your sump pit, the pump kicks on and starts working. Then the power goes out. Or the pump overheats from running constantly. Or it gets clogged with debris. And suddenly, you’ve got no active defense against water that’s still pouring in.
One homeowner in Rochester installed a sump pump in 2015 and felt safe for eight years. Then a summer storm knocked out power for 36 hours. His cellar filled with 18 inches of water in less than a day. The pump was sitting there, completely useless, while water kept coming.
The repair bill was $28,000.
The fix? A battery backup sump pump would’ve cost him $1,200 installed.
A proper sump pump system needs:
- A primary pump sized correctly for your water volume — Most homes need a pump that moves 2,500 to 5,000 gallons per hour. Too small, it can’t keep up during heavy rain. Too large, it cycles on and off constantly and burns out faster.
- A battery backup pump — This kicks in when the primary pump fails or loses power. It’s not meant to run all night, but it buys you time to get professional help.
- A water-powered backup pump — This one uses water pressure from your main line to operate (no electricity needed). It’s slower than electric pumps but it works when everything else fails.
- Regular maintenance checks — A sump pump that hasn’t been serviced in three years might not work when you need it. Debris builds up, seals wear out, and you won’t know until it’s too late.
- A check valve that actually works — This prevents water from flowing backward into the pit once the pump shuts off. A failed check valve means your pump works twice as hard for half the benefit.
Most homeowners have one pump, no backup, and no maintenance schedule. That’s not a system—that’s a prayer.
Bottom line: One pump fails; your cellar floods. Backup systems are insurance you can’t afford to skip.
The Perimeter Drainage System: Your First Line of Defense
A sump pump catches water that’s already in your cellar.
A perimeter drainage system stops water before it gets there.
Think of it like this: a sump pump is the goalie. Drainage is the defense line in front of him. You need both.
Perimeter drainage systems work by intercepting groundwater before it reaches your foundation walls. Water moves through soil following the path of least resistance. If you create a path that leads away from your cellar, water takes it.
Here’s how it works:
A trench is dug around your foundation (usually inside the cellar, though exterior drainage is more effective). A perforated pipe gets installed at the lowest point of the foundation. As groundwater seeps down, it hits the pipe, gets collected, and flows toward a sump pit. The sump pump then moves it away from your property.
The key word is “perforated.” Those tiny holes let water in but keep soil out. A solid pipe won’t work. You’ll end up with a clogged line and no drainage at all.
Exterior perimeter drainage is better but more expensive. It involves excavating around your foundation, installing a waterproof membrane, and creating a gravel bed with drainage pipe. Water never touches your foundation walls in the first place. It’s prevented at the source.
One Rochester homeowner had interior drainage installed for $6,000. It worked fine for five years, then the pipe got clogged with sediment and quit working. When it rained, water backed up into the system and started leaking through the walls again. He ended up needing exterior drainage anyway—at a cost of $12,000.
The lesson? Interior drainage buys you time. Exterior drainage solves the problem.
Bottom line: Interior drainage helps; exterior drainage prevents. Choose based on your budget and how often your cellar gets wet.
Foundation Cracks: The Silent Water Highway
You can’t see hydrostatic pressure, but you can see what it does.
Water-saturated soil pushes against your foundation with incredible force—up to 60 pounds per square foot. If there’s a crack, even a tiny one, that pressure forces water through.
Hairline cracks look harmless. They’re not.
A crack that’s only 1/16 of an inch wide can leak water at a rate of 7 gallons per day during heavy rain. Multiply that across a 40-foot foundation, and you’ve got a serious problem.
The fix depends on the crack size and what’s causing it:
Hairline cracks (less than 1/8 inch wide) — These usually respond well to epoxy injection. The epoxy is pumped into the crack under pressure, filling it completely and creating a waterproof seal. It’s non-invasive and costs $400 to $800 per crack.
Larger cracks (1/8 inch to 1/2 inch) — Polyurethane injection works better for these. Polyurethane expands as it sets, filling gaps and creating a flexible seal that moves with the foundation. Cost runs $600 to $1,200 per crack.
Wide cracks or structural cracks (wider than 1/2 inch) — These are red flags. They might indicate foundation settlement or structural failure. Professional foundation repair involves installing carbon fiber straps, steel plates, or helical piers to stabilize the foundation and then sealing the crack. This isn’t cheap—$2,000 to $10,000 depending on severity—but it’s necessary.
The problem most homeowners face is knowing which category their crack falls into. A crack that looks small might be deep. Or it might be the surface sign of a bigger structural problem below.
This is where a professional assessment matters. Mark Frillici and the team at Healthy Spaces have been evaluating foundation cracks in Rochester for nearly two decades. They can tell you whether you’re looking at a cosmetic issue or a structural emergency just by examining the pattern and location.
Bottom line: Tiny cracks leak big water. Get them sealed before pressure forces water through.
Basement Window Wells: The Overlooked Entry Point
Your basement windows are designed to let light in, not water.
But they do both if you’re not careful.
Window wells are those little cement or plastic boxes that sit below ground level. They’re there so dirt and debris don’t pile up against your window. But during heavy rain, they become collection basins—and water pools right at your window frame.
If the frame isn’t sealed or the well isn’t draining, water seeps through the window into your cellar.
The fix is straightforward:
Install a window well cover — A polycarbonate or metal cover prevents rain from accumulating in the well while still allowing light through. Cost: $100 to $300 per window.
Seal the window frame with waterproof caulk — Even small gaps around the frame let water in. Use a high-quality, flexible sealant rated for basement use. Reapply every 3-5 years as it degrades.
Add interior drainage to the well — Some window wells have built-in drains that should connect to your perimeter drainage system or sump pit. If yours doesn’t, a contractor can add one.
Grade the ground around the well — Make sure soil slopes away from the well, not toward it. Water should flow away from your foundation, not toward it.
One homeowner in Rochester ignored his window wells for years. When he finally noticed water coming through during a heavy rain, he realized the wells were clogged with leaves and debris. Water had backed up and was sitting directly against his basement windows. The water damage to the finished room below cost $3,500 to repair.
He’d spent $200 on well covers and solved the problem entirely.
Bottom line: Window wells collect water like buckets. Cover them or pay the price.
Gutters and Downspouts: The Cheapest Prevention You’re Ignoring
Water starts at your roof.
It flows down to your gutters. Then to your downspouts. Then—ideally—away from your foundation.
But if your gutters are clogged or your downspouts dump water right next to your house, you’re creating a flood waiting to happen.
Here’s the math: A 1,000-square-foot roof sheds about 600 gallons of water during a one-inch rainstorm. That’s a lot of water. If it all lands next to your foundation instead of being directed away, you’re essentially creating a moat around your house—and your cellar’s sitting in the middle of it.
The solution:
Clean your gutters twice a year — Spring and fall. Leaves, twigs, and dirt block water flow. Clogged gutters overflow, and water spills down your foundation walls instead of flowing through the downspout.
Extend downspouts at least 4-6 feet away from your foundation — The water needs distance. A downspout that dumps water 2 feet from your house might as well not exist. Extended downspouts (or splash blocks in a pinch) direct water away where it can’t seep down to your cellar.
Check that downspouts aren’t clogged — A blocked downspout backs up and overflows at the foundation, which defeats the whole purpose. Run water through them to make sure they’re clear.
Install gutter guards if you’re in a wooded area — Gutter guards reduce debris buildup, meaning less frequent cleaning. They’re not perfect—some still allow sediment through—but they help.
This is the cheapest prevention available. Gutter cleaning costs $100 to $200. Downspout extensions cost $50 to $150 each. Gutter guards run $300 to $800 for the whole house.
Compare that to the cost of fixing a flooded cellar, and it’s literally a no-brainer.
Bottom line: Clean gutters and long downspouts stop water before it touches your foundation.
Ground Grading: Slope Away From Your House or Slope Toward Disaster
Water follows gravity.
If the ground around your house slopes toward your foundation, that’s where water goes. If it slopes away, water moves away from your house. Simple.
Yet most homeowners have grading that’s either flat or slopes the wrong direction.
The rule: Your ground should slope away from your foundation at a minimum of 6 inches of drop over the first 10 feet. That’s not steep—it’s barely noticeable. But it’s enough to redirect water away from your cellar.
Why does grading get messed up?
Settling. Over time, soil around your foundation compacts, and the grade flattens out. Landscaping changes, mulch piles up against the foundation, or someone adds fill dirt without paying attention to slope. Before you know it, your grading’s working against you.
The fix is regrading—moving soil to restore proper slope. It’s labor-intensive and costs $500 to $2,000 depending on the size of your property and how much soil needs to move. But it’s permanent and works with every other drainage system you have.
One homeowner in Rochester had a flooded cellar problem that stopped completely after regrading. No sump pump upgrade, no new drainage system—just fixing the grade so water flowed away instead of toward the foundation. His total cost was $1,200. His neighbor, who kept the bad grade but added a sump pump, spent $3,000 and still got occasional seeping during heavy rain.
Bottom line: Slope away from your house, not toward it. Check your grade and fix it if it’s wrong.
When DIY Isn’t Enough: Knowing When to Call a Professional
Some things you can do yourself. Others you can’t.
Cleaning gutters? You can do that. Regrading? Probably fine if you rent equipment and take your time. Waterproofing your foundation or installing a sump pump system? That’s where professionals earn their fee.
The reason is simple: mistakes are expensive.
A sump pump installed in the wrong location won’t drain efficiently. A perimeter drainage system with the wrong pipe diameter will clog. Foundation crack injections done by someone without experience might not seal completely, leaving gaps for water to seep through.
And when water finds those gaps, you’re paying to redo the work plus fixing the damage the water caused in the meantime.
Mark Frillici built Healthy Spaces in 2006 specifically because he saw too many DIY waterproofing jobs fail. Homeowners would try to save money upfront, the system would fail during the first heavy rain, and they’d end up spending three times as much fixing the original problem plus the new water damage.
Professional waterproofing companies have:
- Proper equipment to excavate, install, and seal systems correctly
- Knowledge of local soil conditions and water tables (which vary by neighborhood in Rochester)
- Insurance in case something goes wrong during installation
- Warranties on their work—usually 10-25 years depending on the system
- Experience knowing which solution works best for your specific situation
You’re not paying for the labor. You’re paying for the knowledge and the guarantee that it’ll actually work.
Bottom line: DIY prevention works. DIY waterproofing often fails. Know the difference.
Building a Complete System: How the Pieces Fit Together
The best way to stop a cellar flooding isn’t choosing one solution.
It’s combining multiple systems so that if one fails, others keep working.
Here’s what a complete system looks like:
Layer 1: Prevention (stops water before it reaches your foundation)
- Proper grading sloping away from the house
- Clean gutters and extended downspouts
- Sealed window wells with covers
Layer 2: Interception (stops water at the foundation)
- Sealed foundation cracks
- Exterior waterproofing membrane (if excavating)
- Perimeter drainage system collecting groundwater
Layer 3: Removal (pumps water away from your property)
- Primary sump pump sized for your water volume
- Battery backup pump
- Water-powered backup pump (optional but thorough)
If water gets past Layer 1, Layer 2 catches it. If water gets past Layer 2, Layer 3 pumps it away. If your main pump fails, backup pumps take over.
This approach costs more upfront—probably $8,000 to $20,000 depending on your foundation size and condition. But it stops flooding. Completely. No more guessing whether you’ll wake up to water.
One homeowner in Rochester spent $14,000 implementing all three layers after his second flood. That was eight years ago. He’s had zero flooding since, despite several heavy rainstorms that would’ve destroyed his cellar under the old system.
His neighbor, who only added a sump pump after the first flood, has had three more floods in that same eight years—each one costing $5,000 to $8,000 to clean up.
The choice is yours: spend once and solve it, or spend repeatedly and hope.
Bottom line: Layered systems work. Single solutions fail. Build all three layers for real protection.
Frequently Asked Questions About How to Stop a Cellar Flooding
How long does it take for mold to grow after a cellar flood?
Mold can start growing within 24-48 hours if moisture isn’t removed. This is why professional drying equipment running continuously for days is critical—and why waiting to address water damage is so dangerous. Even if you can’t see mold yet, it’s likely growing in insulation, wood, and drywall.
Can I use a regular shop vac to remove standing water from my cellar?
Not for a real flood. Shop vacs handle a few gallons, not the hundreds or thousands you’d have from serious flooding. You need industrial pumps and extraction equipment that professionals have. Trying to DIY large-scale water removal wastes time while water keeps seeping deeper into your foundation and walls.
Will my homeowners insurance cover cellar flooding?
Standard homeowners insurance doesn’t cover basement water damage from flooding (rain, groundwater, sump pump failure). You need separate flood insurance, which covers water that comes from outside your home. Check your policy—most people assume they’re covered and find out too late that they’re not.
How often should I have my sump pump serviced?
At least once a year, ideally before heavy rain season. A technician should check that the pump runs smoothly, the check valve works, the pit is clean, and the discharge line isn’t clogged. A pump that hasn’t been serviced in three years might not work when you need it.
Is exterior waterproofing worth the cost?
Yes, if you’re dealing with recurring cellar flooding. It’s expensive ($5,000-$15,000) but it stops the problem at the source. Interior systems manage water that’s already reached your foundation. Exterior systems prevent it from getting there in the first place. If you’re tired of dealing with water, exterior waterproofing is worth the investment.
What’s the difference between a sump pump and a battery backup pump?
A sump pump is the primary system that runs on electricity. A battery backup pump is a secondary pump that kicks in if the main pump fails or loses power. It’s smaller and slower but keeps working when the main system can’t, buying you time to get professional help before your cellar fills.
Can I install a sump pump myself?
Technically yes, but it’s risky. The pit needs to be sized correctly, the pump needs to be positioned properly for drainage, the discharge line needs to slope away from your foundation, and the check valve needs to be installed correctly. One mistake and your system won’t work efficiently—or at all. Most professionals recommend hiring someone who does this regularly.
The Real Cost of Ignoring Water Problems
You know the numbers already if you’ve read Part 1.
But they’re worth repeating because they change how you think about prevention.
A minor flood caught and dried properly: $2,000-$5,000.
A flood ignored for a week: $15,000-$30,000 with mold and structural damage.
Repeated flooding without fixes: $50,000-$100,000 in total repairs plus property value loss.
Prevention (proper grading, gutters, sump pump, drainage): $5,000-$20,000 one time.
The math doesn’t lie. Prevention costs less than one serious flood. It’s not an expense—it’s insurance you’re buying once instead of paying premiums forever.
Bottom line: Prevention costs less than one flood. Repairs cost more than three.
What Happens Next Is Up to You
You now understand why cellars flood, what stops water, and what systems actually work.
The question is whether you’re going to act on it or wait for the water to remind you.
Most homeowners wait. Then water comes, panic sets in, and they call for emergency help at 2 a.m. during a storm. That’s the expensive way to solve the problem.
Mark Frillici and the team at Healthy Spaces have been helping Rochester homeowners stop cellar flooding for nearly 20 years. They’ve seen every type of water problem, every failed DIY fix, and every expensive repair that could’ve been prevented.
If your cellar’s currently dry and you want to keep it that way, they can assess your foundation, check your drainage, evaluate your sump pump, and tell you exactly what you need.
If your cellar’s already flooding, they can get water out and drying equipment running within hours—not days.
Either way, waiting costs money. Contact Healthy Spaces now and stop guessing whether your cellar will flood next time it rains.
Your Cellar Stays Dry for Years, Then Suddenly It’s Not. Here’s Why Prevention Plans Fail and How to Stop a Cellar Flooding for Good
You installed a sump pump five years ago. Everything’s been fine. No water, no problems, no stress.
Then one Tuesday morning—water’s seeping through the walls again.
You’re standing there thinking, “I already fixed this.” But here’s the thing: you didn’t fix it. You just managed it. There’s a massive difference, and most homeowners don’t realize it until their “solved” problem comes back with a vengeance.
The truth is, knowing how to stop a cellar flooding isn’t about installing one system and forgetting it. It’s about understanding why systems fail, what makes them fail faster than you’d expect, and building redundancy so you’re never caught off guard again.
Why Your Current System Isn’t Holding Up (And It’s Not Your Fault)
You did what most people do.
Water came in, you panicked, you called someone, they installed a pump or a drain, and life went on.
But systems degrade. Pipes clog. Pumps wear out. Ground shifts. What works perfectly in year one starts failing in year five because nobody told you what to actually monitor.
A Rochester homeowner installed interior drainage after his first flood in 2015. For eight years, nothing. Then a heavy spring thaw hit, water backed up, and he realized the perimeter drain had silted up. Cost to clean it? $800. Cost to ignore it longer and let water in anyway? $12,000 in damage and mold remediation.
He had the system. He just didn’t maintain it.
This is the gap nobody talks about—the space between “I installed a solution” and “my solution actually works when I need it.”
The maintenance gaps that kill systems:
- Sump pump check valves failing silently — Water flows backward into the pit instead of staying out, forcing the pump to work twice as hard. You won’t know it’s broken until the pump fails during a storm.
- Discharge lines getting clogged or disconnected — The pump runs, but water has nowhere to go. It just sits in the pit, and the pump burns out.
- Perimeter drains silting up with sediment — The pipe clogs gradually over years. Water pressure builds, finds a weak point, and suddenly you’re dealing with seepage.
- Battery backup systems dying without warning — A battery sits unused for three years, and when the power goes out during a storm, it’s dead. Batteries need maintenance schedules, not hope.
- Foundation cracks widening as soil shifts — That hairline crack you sealed five years ago? The ground underneath settled, and the crack’s opening again.
None of this is obvious until water shows up.
Bottom line: Systems fail silently. Maintenance catches them before water does.
The Annual Inspection That Saves Thousands (And How to Know What to Look For)
You don’t need to be a contractor to spot problems.
You just need to know what you’re looking for and when to look.
Spring is the worst time for cellars—melting snow, saturated soil, water tables rising. That’s when you want your systems running perfectly. So fall is when you inspect and fix.
What to check on your sump pump system:
- Pour water into the pit — Does the pump kick on automatically? If it sits there, the float mechanism is stuck or the pump’s dead.
- Listen for the discharge sound — Water should be pumping out of the house. If you hear the pump running but no water’s flowing out, the discharge line is clogged or disconnected.
- Check the check valve — Remove the discharge line (or look at it if it’s accessible) and pour water down it. Water should not flow backward into the pit. If it does, the check valve failed.
- Test the battery backup — Kill power to the main pump and pour water into the pit. The battery pump should kick in. If it doesn’t, the battery’s dead or the system’s not wired correctly.
- Look for debris in the pit — Dirt, sediment, and rocks reduce pump efficiency and can jam the intake. Clean it out.
This takes 15 minutes and costs zero dollars.
One homeowner in Rochester skipped this for three years. When his sump pump finally died during a heavy rain, the backup battery was also dead (he’d never tested it). His cellar flooded with 14 inches of water. The cleanup, drying, and mold remediation cost $8,500.
He could’ve caught both problems in one quick inspection.
What to check on your foundation and drainage:
- Walk around your cellar walls looking for new cracks or widening cracks — Mark hairline cracks with a pencil and check them again in a few months. Growing cracks mean foundation movement.
- Feel for seepage along the seams where walls meet the floor — Water finds seams first. If you feel moisture, the perimeter drain might be failing.
- Check window wells for debris and pooling water — If water’s sitting in the well after rain, the drain isn’t working or the well’s clogged.
- Look at your grading outside — Does water pool near the foundation after rain? That means grading’s wrong and water’s flowing toward your house instead of away.
- Clean gutters and test downspouts — Water should flow freely from gutters to downspouts to away from the house. Clogs force water to overflow at the foundation.
These checks take 30 minutes and happen twice a year (fall and spring).
Bottom line: Inspect twice yearly. Catch problems before they become emergencies.
When a Single System Isn’t Enough (And You Need a Backup Plan)
Here’s what most people don’t get: relying on one system for something this important is gambling.
Pumps fail. Batteries die. Power goes out. Drains clog. You can’t prevent all of it, but you can make sure that when one thing fails, something else takes over.
A truly protected cellar has redundancy built in at every level.
Level 1 redundancy: Water removal
You need a primary sump pump and a backup system. The backup doesn’t have to be fancy—it just has to work when the main pump doesn’t.
Battery backup pumps are standard. A quality backup pump can handle a few hours of continuous water, which is usually enough to get professional help on site. Water-powered backup pumps (also called ejector pumps) run on water pressure from your main line—no electricity required. They’re slower but they work when everything else is dead.
Level 2 redundancy: Water interception
If your primary drain clogs, do you have a secondary one? Some homes have both interior and exterior drainage. If one fails, the other catches water.
This sounds expensive, but it’s actually cheaper than dealing with repeated floods. One Rochester homeowner installed both interior and exterior drainage (cost: $11,000). In 15 years, his interior drain clogged twice. The exterior system kept water out both times. He’s saved money compared to homeowners who’ve flooded three or four times with single-system setups.
Level 3 redundancy: Foundation sealing
Cracks sealed with epoxy or polyurethane don’t stay sealed forever. Soil movement, freeze-thaw cycles, and structural settling cause them to reopen.
Plan to inspect foundation cracks yearly and re-seal them as needed. This isn’t a one-time fix—it’s an ongoing maintenance cycle. Think of it like painting your house. You don’t paint once and expect it to last forever.
Bottom line: One backup saves you. Two backups save your sanity.
The Hidden Cost of “Good Enough” Solutions
There’s a reason some homeowners keep having the same problem.
They installed the cheapest solution that technically works, not the best solution that actually solves the problem.
A $1,200 sump pump with no backup is “good enough” until the power goes out. A $2,500 sump pump system with battery backup and maintenance is actually good enough.
Interior drainage is “good enough” until it clogs. Exterior drainage is actually good enough—it costs more but it stops water before it ever touches your foundation.
The trap is that “good enough” works fine for five or six years. You forget about the problem. You stop thinking about water. Then something fails, and you’re back where you started.
One homeowner in Rochester installed interior drainage for $4,500. It worked for seven years. Then it clogged. He had it cleaned for $1,200 but didn’t want to spend the $13,000 for exterior drainage. The next heavy rain, water came in again. Over the next three years, he dealt with water three more times, spending $3,000 on cleanup each time. Total spent: $4,500 + $1,200 + $9,000 = $14,700.
If he’d spent the extra $8,500 upfront for exterior drainage, he’d have spent $13,000 total and had zero floods for the next 20 years.
Instead, he spent more money and still has a wet cellar.
Bottom line: Cheap solutions cost more in the long run.
Building a Maintenance Schedule That Actually Works
You don’t need a complicated system.
You need a simple schedule that you’ll actually follow.
Fall (September-October):
- Inspect sump pump pit for debris and clean it out
- Test primary pump by pouring water in the pit
- Test battery backup pump (kill power to main pump first)
- Check discharge line for clogs or disconnections
- Inspect foundation walls for new or widening cracks
- Clean gutters and test downspouts
Spring (March-April):
- Repeat the sump pump tests
- Inspect for water seepage along wall seams
- Check window wells for pooling water or debris
- Check grading around the foundation (does water pool near the house?)
- Look for cracks that have widened since fall
Every 3-5 years:
- Have a professional inspect the entire system
- Re-seal foundation cracks if they’re widening
- Clean out the perimeter drain if you have one
- Replace the sump pump battery backup (they don’t last forever)
Write it down. Put it on your calendar. Set phone reminders if you have to.
The point isn’t perfection. It’s staying ahead of problems instead of running behind them.
Bottom line: A simple schedule beats a complex system you ignore.
When Professional Help Isn’t Optional—It’s Essential
You can inspect your own systems.
You can’t fix everything yourself.
Some problems need equipment you don’t have. Some need expertise that comes from seeing hundreds of basements. Some need insurance backing in case something goes wrong during the work.
Professional inspections catch hidden water damage using moisture meters and thermal imaging—tools that show where water’s hiding inside walls and under floors. You can’t see this with your eyes.
Proper drainage system installation requires knowing soil conditions, water tables, and local building codes. Get it wrong, and the system fails in a few years.
Foundation crack repair done incorrectly can make the problem worse. Epoxy that doesn’t fully penetrate leaves gaps. Polyurethane that’s not injected at the right pressure doesn’t seal properly.
Mark Frillici built Healthy Spaces in 2006 because he saw too many DIY attempts fail. Homeowners would try to save money, the system would die in a few years, and they’d end up spending three times as much fixing both the original problem and the damage from the failed fix.
A professional assessment costs $300-$500 and takes a few hours. It tells you exactly what you’re dealing with and what actually needs to happen. That information alone is worth the cost—it prevents you from wasting money on solutions that won’t work.
Bottom line: Professional help prevents expensive mistakes.
Your Action Plan: Starting Today
You don’t need to overhaul everything at once.
You need to start now and build from there.
This week: Inspect your sump pump pit. Pour water in and see if the pump kicks on. That’s it. Five minutes.
This month: Clean your gutters. Check your grading. Look for cracks. Write down what you see.
This quarter: Schedule a professional inspection. Get a baseline understanding of what you’re actually dealing with. Ask about redundancy—what happens if your main system fails?
This year: Fix the problems the inspection found, prioritizing water entry points. Don’t try to do everything at once. Prioritize based on risk and cost.
That’s not overwhelming. That’s just staying ahead of water instead of chasing it.
Bottom line: Start small, stay consistent, build redundancy.
Frequently Asked Questions About How to Stop a Cellar Flooding Long-Term
How often do sump pumps actually need to be replaced?
A quality sump pump lasts 7-10 years with regular maintenance. If it runs constantly (meaning water pressure’s too high), it’ll burn out faster. If you’re replacing it more than once every 7 years, your real problem isn’t the pump—it’s too much water entering the system.
Can I combine interior and exterior drainage systems?
Yes, and it’s smart. Interior drainage catches water that makes it through the foundation. Exterior drainage stops it before it gets there. Together, they’re nearly bulletproof. One homeowner in Rochester has both—his cellar’s been completely dry for 18 years.
What’s the difference between maintenance and repair?
Maintenance is catching problems before they become emergencies (inspecting, cleaning, testing). Repair is fixing something that’s already broken (replacing a pump, re-sealing a crack, cleaning a clogged drain). Maintenance costs hundreds. Repairs cost thousands. Do the math.
Should I replace my system if it hasn’t failed yet?
No, but you should test it and maintain it. A 15-year-old pump that works fine is fine. A 15-year-old pump you’ve never tested is a disaster waiting to happen. Know your system’s age, test it regularly, and plan a replacement before it fails.
How do I know if my foundation cracks are serious?
Hairline cracks (less than 1/16 inch) are usually cosmetic. Cracks wider than 1/4 inch, cracks that are growing, or cracks that follow a stair-step pattern (especially in brick) indicate structural movement. Get a professional to look at anything bigger than a hairline.
The Real Protection Is Planning Ahead
Water comes. That’s not a question.
Whether it damages your cellar is entirely up to you.
The homeowners who stay dry aren’t lucky. They’re prepared. They inspect, they maintain, they fix problems before they become emergencies, and they build redundancy so that when one thing fails, something else takes over.
Mark and his team at Healthy Spaces have been helping Rochester homeowners do exactly this for nearly 20 years. They’ve seen what works, what fails, and what keeps failing because people didn’t plan ahead.
If you’re tired of dealing with water or worried about what happens when your current system fails, don’t wait for the next storm. Contact Healthy Spaces now for a professional assessment. It takes a few hours and costs a fraction of what you’ll spend if water gets in.
Your cellar can stay dry. You just have to plan for it.