Contact Us For a Free Qoute
How To Remove Moisture From Basement Fast
Mold can take over in less than 48 hours—but you can stop it if you know how to remove moisture from basement before it starts.
Your basement isn’t just a storage space or a place to hide the water heater. It’s the foundation of your entire property—literally. And right now, moisture is probably creeping in without you even knowing it.
The problem is this: basements are naturally wet environments. They’re below ground level, surrounded by soil that holds water, and they’re typically cooler than the rest of your property. That combination creates the perfect storm for condensation, seepage, and mold growth. But here’s the good news—you don’t need to panic or spend thousands of dollars to fix it. Knowing how to remove moisture from basement starts with understanding what’s actually happening down there.
In this guide, we’re breaking down the real tactics that work. Not the surface-level stuff you’d find on a generic home blog. The actual methods that stop moisture before it becomes a structural problem, a health risk, or a financial nightmare.
Why Basements Get Wet (And Why It Matters More Than You Think)
Moisture in basements comes from two main sources: water intrusion and condensation.
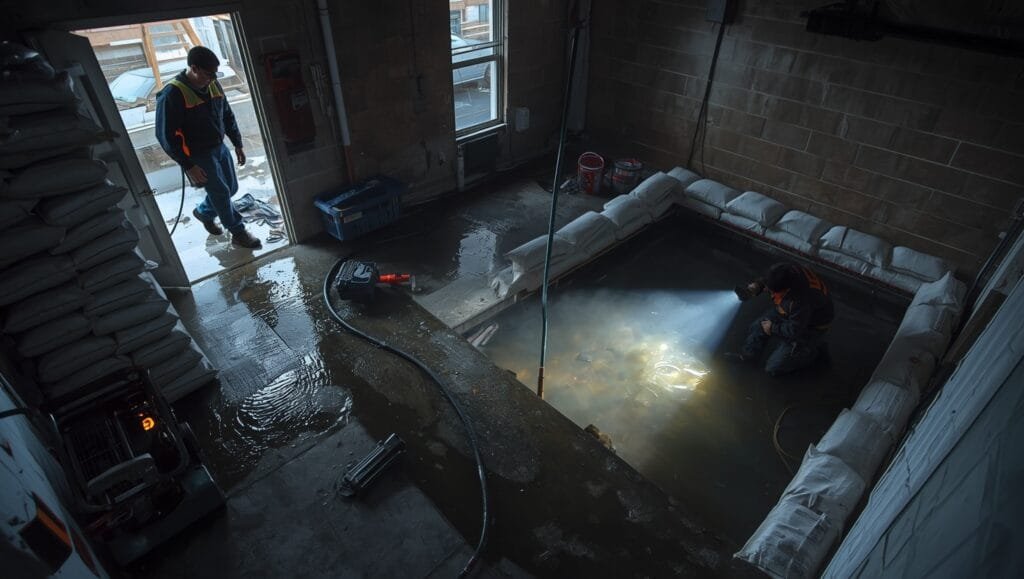
Water intrusion happens when groundwater pushes through cracks in your foundation, seeps under basement walls, or floods in during heavy rain. It’s visible, it’s aggressive, and it demands immediate attention. One homeowner in Rochester called Healthy Spaces after discovering their basement had standing water following a spring thaw. The damage? Warped flooring, compromised drywall, and mold beginning to colonize behind the walls. They’d waited just three days to call. The repair cost nearly $18,000.
Condensation is sneakier. It forms when warm, humid air from your living space meets the cold basement walls and floor. You might notice it as beads of water on pipes, dampness in corners, or a musty smell that won’t go away. Condensation doesn’t seem like a big deal until you realize it’s feeding mold growth and creating an environment where dust mites and allergens thrive.
Both types of moisture accelerate the same outcome: structural decay, mold, and air quality problems that affect your family’s health.
Bottom line: Moisture isn’t just annoying—it’s a threat to your property’s structure and your family’s wellness.
The Real Cost of Waiting (Spoiler: It’s Not Pretty)
Homeowners often underestimate how fast moisture damage compounds.
In the first 24 to 48 hours, mold spores begin germinating in damp conditions. By day three, visible mold colonies start forming. By week two, the smell permeates your entire property. By month two, you’re looking at structural damage that requires professional remediation—not just cleanup.
The financial hit is real. The average cost to remove moisture and treat mold in a basement ranges from $2,000 to $6,000 for a moderate problem. For severe cases involving structural damage or widespread mold? You’re looking at $15,000 to $30,000+. And that’s before you factor in health-related costs, decreased property value, or the stress of living in a compromised space.
Compare that to preventive measures. A dehumidifier system, proper drainage, and sealing foundation cracks? Total investment typically runs $3,000 to $8,000—and it solves the problem permanently. You’re not just spending less; you’re actually protecting your investment.
Bottom line: Stop moisture now or pay 3 to 5 times more to fix the damage later.
Understanding Humidity Levels in Your Basement
Before you can effectively remove moisture, you need to know what you’re dealing with.
Humidity is measured as a percentage of moisture in the air. A healthy basement should stay between 30% and 50% relative humidity. Below 30% and you’re dealing with dry conditions (rare in basements, but possible). Above 50% and you’re feeding mold growth. Anything above 60% is a red flag that demands immediate action.
You can measure humidity with a simple hygrometer—they’re cheap, available at hardware stores, and give you an instant reading. Place one in different areas of your basement to get a full picture. The corner near exterior walls? Usually the dampest spot. The center of the room? Typically drier. This variation tells you where water’s getting in.
A homeowner in Rochester used a hygrometer and discovered her basement was sitting at 68% humidity year-round—well above the safe threshold. She hadn’t noticed visible water, but the dampness was constant. Within weeks of installing a proper dehumidifier system, that number dropped to 42%. The musty smell disappeared. The mold spots on the foundation stopped spreading. She’d caught it before it became a crisis.
Bottom line: Measure your basement humidity—it’s the first step to fixing what you can’t see.
Identifying Where Moisture Is Coming From
You can’t remove moisture effectively without knowing where it’s entering.
Walk your basement slowly. Look for these signs:
- Water stains on walls or floors—usually indicate past or ongoing water intrusion.
- Efflorescence (white, chalky deposits on concrete)—a sign that water’s pushing through the foundation and leaving mineral deposits behind.
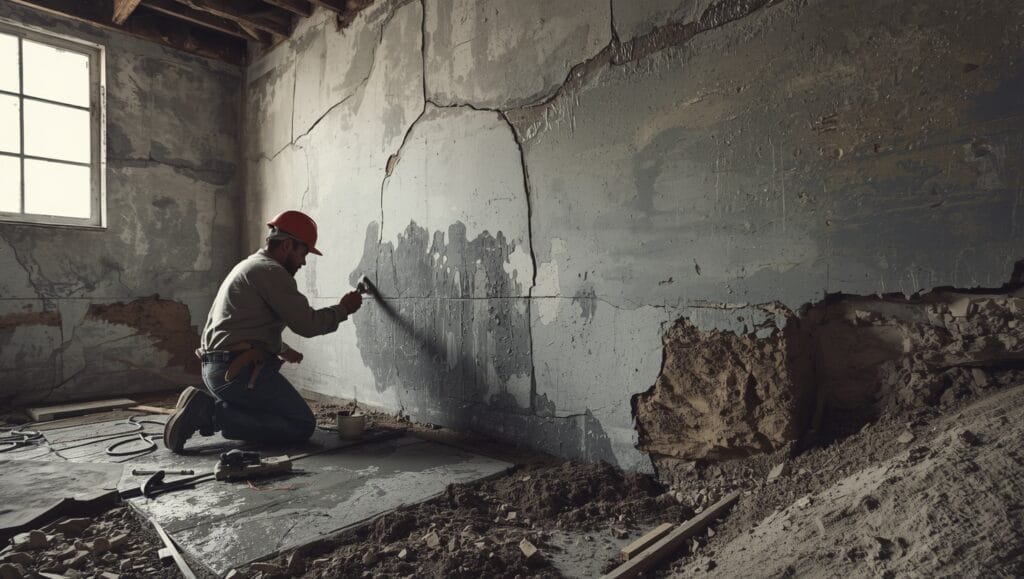
- Cracks in the foundation—these are highways for water. Even hairline cracks let moisture seep through.
- Dampness concentrated in corners—water often enters where walls meet the floor or where two walls meet.
- Condensation on pipes—indicates high humidity, even if you don’t see standing water.
- Musty odor—mold and mildew thrive in moisture, and the smell is often your first warning.
Pay special attention to areas below grade (below ground level). Water naturally flows downward and seeks the lowest point. Your basement is that point. If you have a floor drain, check if it’s backing up. That’s a major red flag that your drainage system isn’t working properly.
Once you’ve identified the source, you can target your solution. Surface moisture from condensation? Dehumidification and ventilation work. Water coming through cracks? You need basement waterproofing and drainage systems. Standing water? You might need a sump pump or improved grading around your foundation.
Bottom line: Pinpoint the moisture source before you invest in solutions.
The Quick Win: Dehumidifiers (And Why They’re Only Part of the Answer)
A dehumidifier is one of the fastest ways to remove moisture from basement air.
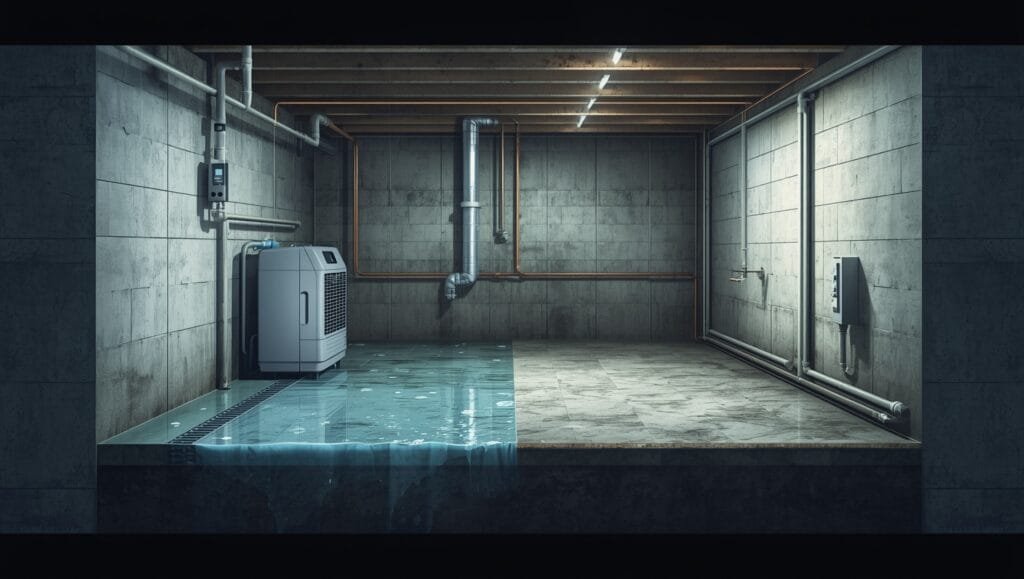
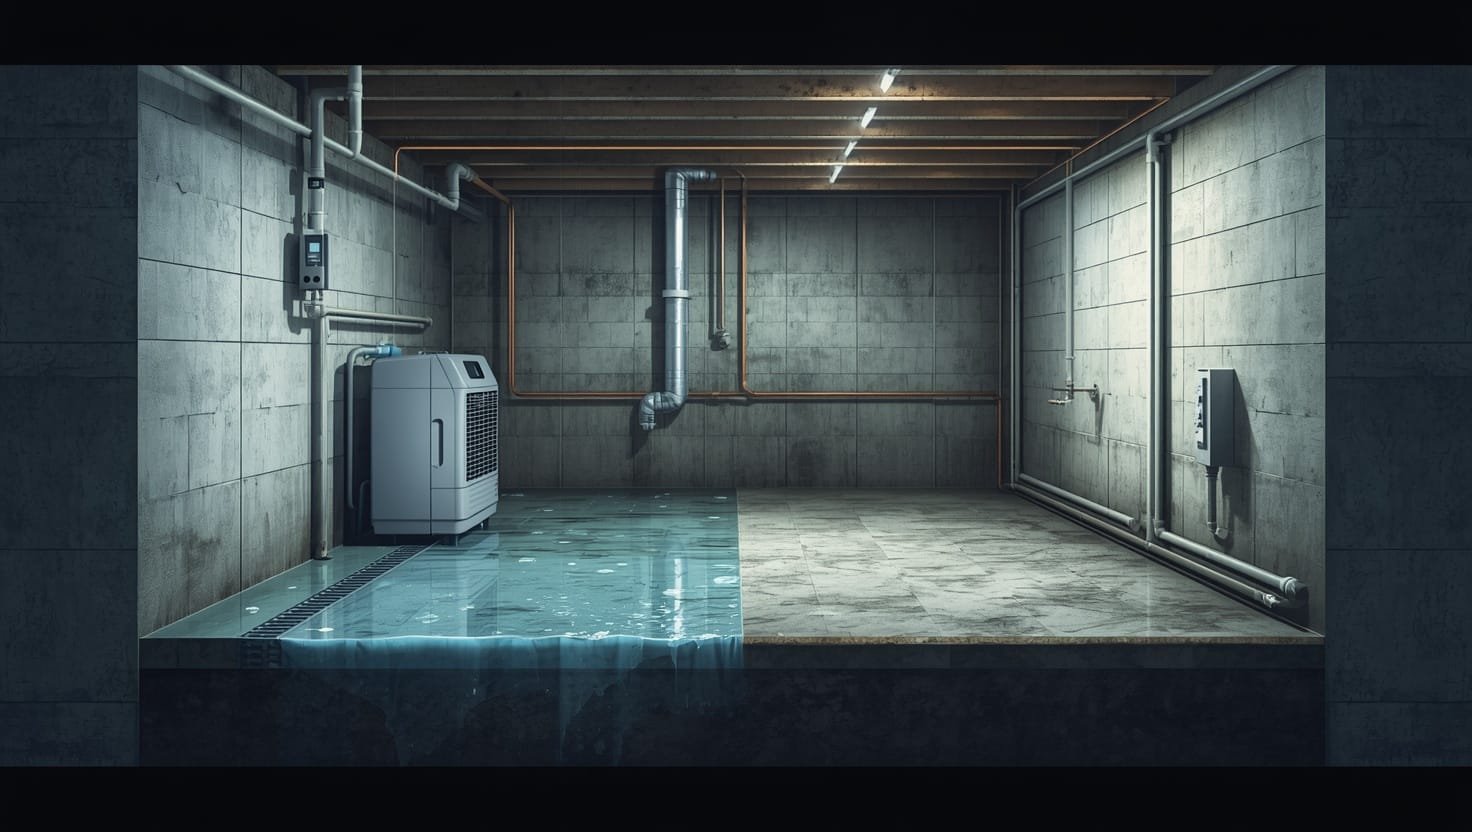
Here’s how it works: the unit pulls humid air across cold coils, moisture condenses out, and dry air is pushed back into the room. The result? Lower humidity levels, less mold food, and a fresher-smelling space—often within days.
But—and this is important—a dehumidifier alone isn’t a complete solution if you’ve got water intrusion happening. It’ll manage condensation and ambient humidity, but if water’s actively seeping through your foundation, you’re just treating the symptom, not the disease.
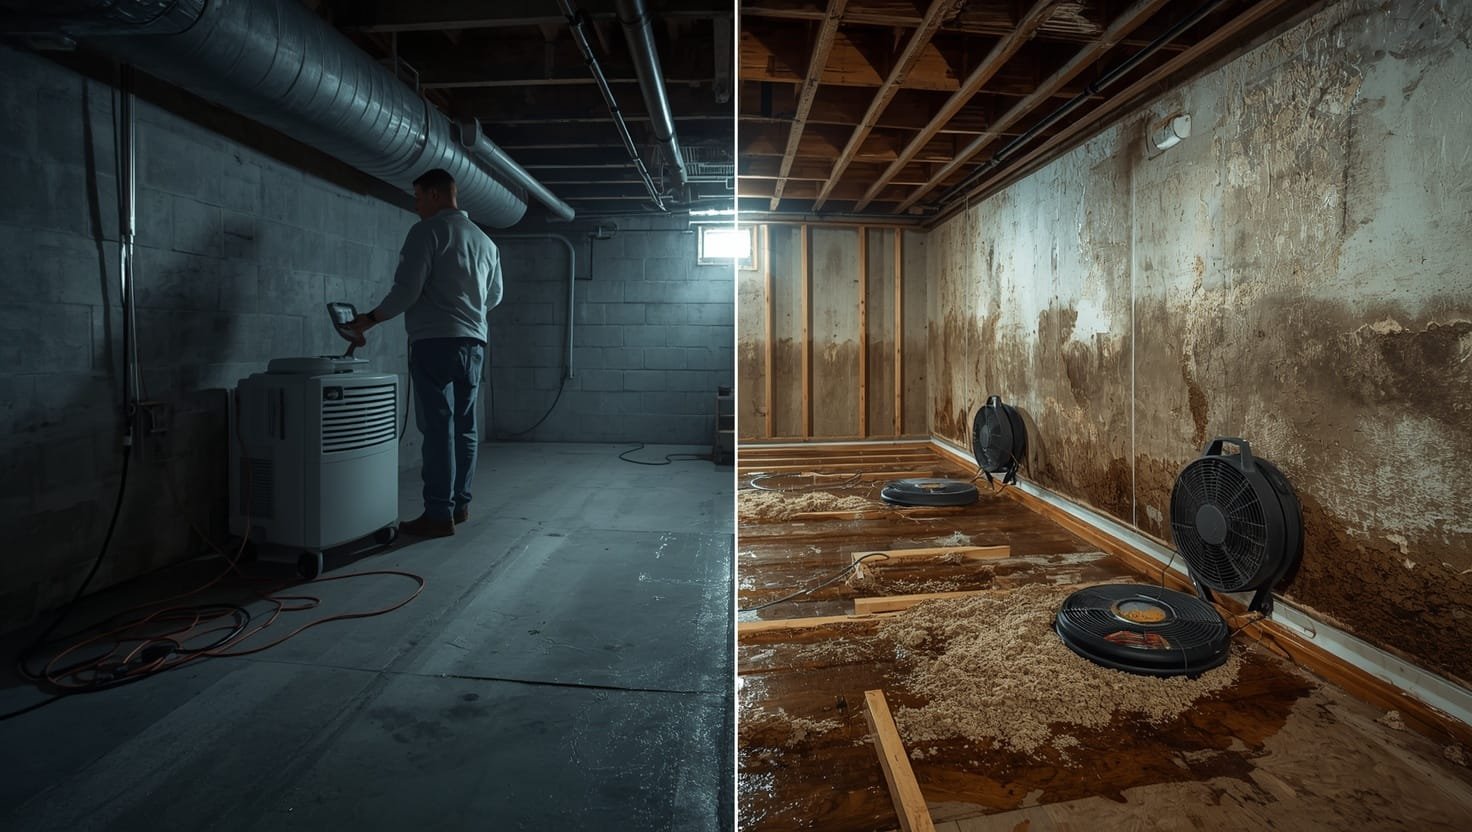
That said, for basements that are dry but chronically damp, a dehumidifier is a game-changer. One homeowner in Rochester installed a basement dehumidifier system and saw her humidity drop from 58% to 38% within two weeks. Her utility bill went up about $15 a month, but her basement stopped smelling like a cave. No more mold spots. No more that sticky feeling when she went downstairs.
The key is sizing it right. A 30-pint dehumidifier works for small basements (under 500 square feet). Larger spaces need 50-pint or commercial-grade units. If you’re running it 24/7, you’ll want something with a continuous drain option (hose to a floor drain) rather than a bucket you have to empty constantly.
Bottom line: Dehumidifiers kill condensation moisture but won’t stop water intrusion—use them as part of a complete strategy.
Ventilation: Getting Fresh Air Moving
Stagnant air traps moisture. Moving air dries things out.
If your basement has windows, crack them open on dry days. The cross-breeze does real work. If it’s humid outside, keep them closed. You don’t want to pull outdoor moisture into your space.
For basements without windows or during seasons when opening them isn’t practical, fans are your friend. A simple box fan pulling air toward a window or exhaust duct can significantly reduce humidity. Run it during the day when humidity is typically lower, and you’ll see measurable improvement.
Some homeowners invest in mechanical ventilation systems—basically ducts that pull humid basement air outside and replace it with drier outside air. These work well in spring and fall when outdoor humidity is lower. In summer, they’re less effective because the air outside is often as humid as the air inside.
The real win is combining ventilation with dehumidification. One handles moisture in the air. The other removes stagnant, damp conditions.
Bottom line: Ventilation moves moisture out; pair it with dehumidification for best results.
Addressing the Root Problem: Water Intrusion
If moisture is coming through your foundation—not just hovering in the air—you need to stop it at the source.
This is where the real work happens, and it’s also where most homeowners need professional help. The good news? Modern waterproofing solutions are far more effective than they were even ten years ago.
Interior Waterproofing: This involves installing a perimeter drain system inside your basement that catches water before it reaches your living space. Water flows to a sump pump, which pushes it out and away from your foundation. Interior waterproofing systems are effective because they work regardless of soil conditions outside. They’re also less invasive than exterior solutions—no digging up your yard.
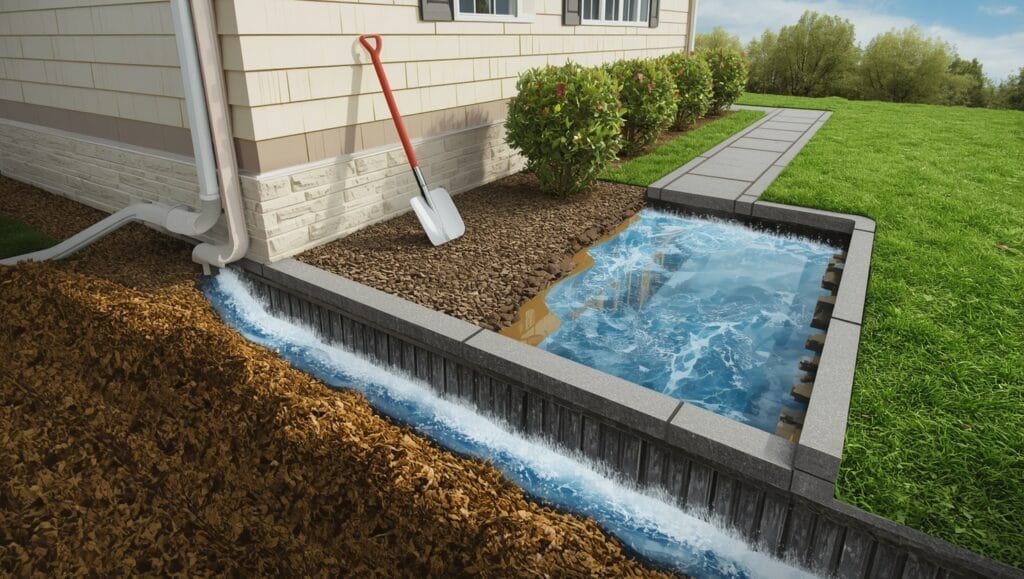
Exterior Waterproofing: This involves sealing the outside of your foundation and improving drainage around your property. It’s the gold standard if you can access it, because it stops water before it ever touches your foundation. But it requires excavation, which is expensive and disruptive.
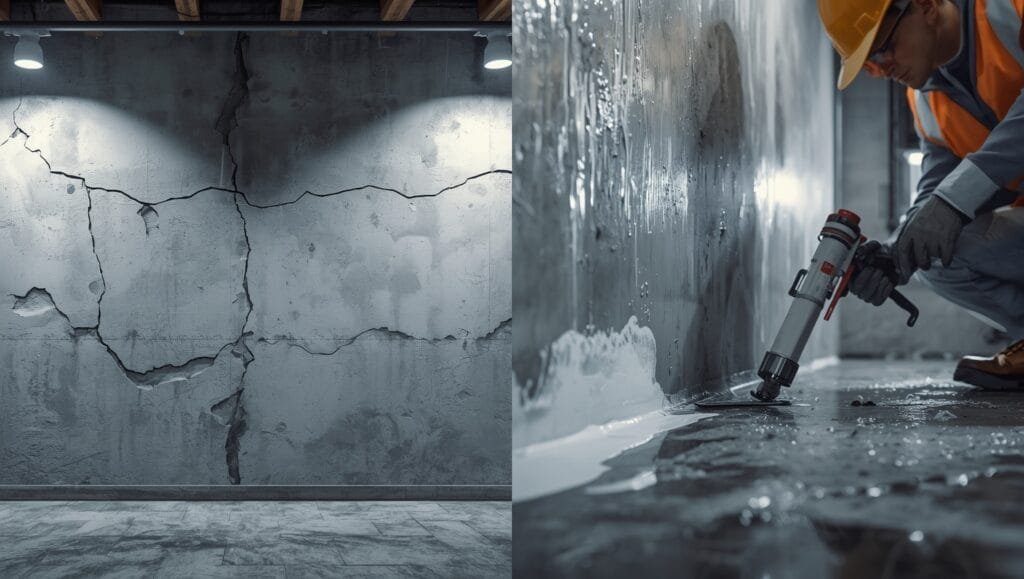
Foundation Crack Sealing: Small cracks let moisture seep through. Larger cracks are structural problems. A professional can assess which category you’re in and seal or repair accordingly.
Grading and Drainage: Sometimes the problem is simple: water pools against your foundation because the ground slopes the wrong direction. Regrading your yard to slope away from the house and adding gutters and downspout extensions can redirect water before it ever reaches your foundation.
Mark Frillici, founder of Healthy Spaces, has spent nearly two decades solving these exact problems for homeowners in Rochester and beyond. He always says the same thing: “The cheapest waterproofing is the kind you install before you have a problem. Once water’s in, you’re playing catch-up.”
Bottom line: Stop water at the source with proper waterproofing and drainage—not just with air management.
Sealing Cracks and Gaps (The DIY Option)
Not all foundation cracks require professional repair.
Small hairline cracks (less than 1/8 inch wide) can be sealed with concrete crack filler or hydraulic cement. Clean out the crack first with a wire brush, remove any loose debris, then apply the filler according to product instructions. These are temporary solutions—they might last a few years—but they’re cheap and they work for minor moisture seepage.
Wider cracks (more than 1/4 inch) or cracks that are actively leaking water need professional attention. These can indicate foundation settling or structural issues that DIY solutions won’t fix.
Same goes for gaps where pipes or utilities enter your basement. Seal these with expanding foam or caulk. They’re often forgotten, but they’re prime entry points for water and pests.
Bottom line: Small cracks? DIY sealant works. Large cracks or active leaks? Call a professional.
Sump Pumps: Your Basement’s Last Line of Defense
A sump pump is a mechanical device that sits in a pit at the lowest point of your basement and pumps water out when levels rise.
If you’re dealing with significant water intrusion or your basement is in an area with a high water table, a sump pump isn’t optional—it’s essential. It catches water before it spreads across your floor and causes damage.
The catch? Sump pumps require maintenance. They can fail. A failed sump pump during heavy rain is a disaster waiting to happen. Many homeowners install a backup battery-powered pump that kicks in if the primary pump fails or loses power.
If you’re curious about how sump pumps actually work and whether you need one, understand what sump pumps do before water becomes a crisis.
Bottom line: Sump pumps prevent flooding—but they need backup power and regular maintenance.
Storage and Organization: Don’t Feed the Problem
This sounds obvious, but it matters: don’t store items directly on basement floors or against walls.
Boxes, furniture, and belongings trap moisture underneath and against walls where water intrusion is most likely. They also hide developing mold problems until they’re severe. Use shelving units that keep items elevated and away from walls. This allows air to circulate and lets you spot moisture issues before they become disasters.
Avoid storing anything valuable or irreplaceable in your basement. Period. Even with the best waterproofing and dehumidification, basements are inherently damp environments. Photographs, documents, electronics—these belong upstairs.
Bottom line: Elevate storage and keep valuable items out of basements.
When to Call a Professional (And Why It Saves You Money)
You can handle some moisture management yourself: running a dehumidifier, improving ventilation, sealing small cracks.
But here’s where DIY reaches its limits: diagnosing the actual source of water intrusion and designing a waterproofing system that actually works.
A professional brings specialized equipment (moisture meters, thermal imaging cameras), experience recognizing patterns you might miss, and access to solutions that aren’t available to homeowners. They can tell you whether you need interior drainage, exterior waterproofing, sump pump installation, or a combination of all three.
More importantly, they come with warranties and insurance. If something goes wrong, you’re protected. If you DIY a waterproofing solution and it fails, you’re out the money and the time.
Professional mold inspections and assessments are also worth the investment if you suspect moisture problems. An inspector can identify mold you can’t see—behind walls, in insulation, in crawl spaces. Catching it early saves thousands in remediation costs.
The bottom line on professional help: it’s not an expense. It’s an investment that protects your property and your family.
Bottom line: Professional assessment costs $300-$500 and saves you $5,000-$25,000 in future damage.
The Complete Strategy: How to Remove Moisture From Basement (The Right Way)
Knowing how to remove moisture from basement isn’t about picking one solution and hoping it works.
It’s about layering strategies:
Step 1: Identify the source. Is it water intrusion or condensation? Where is it coming from? (Refer back to the section on identifying moisture sources.)
Step 2: Address water intrusion first. If water’s actively getting in, stop it with waterproofing, drainage systems, or grading improvements. Dehumidifiers won’t fix active water problems.
Step 3: Install moisture management. Use a dehumidifier and improve ventilation to control ambient humidity and condensation.
Step 4: Maintain and monitor. Check humidity levels monthly. Look for new stains or cracks. Keep sump pump systems clean and tested.
Step 5: Prevent mold. Keep humidity below 50%, ensure good air circulation, and clean any visible mold immediately. If mold covers more than 10 square feet or is in hard-to-reach areas, professional mold remediation is the safer choice.
This isn’t complicated. It just requires you to address the actual problem instead of just treating the symptom.
Bottom line: Layer solutions: stop water, manage humidity, prevent mold, monitor regularly.
Real Results: What Homeowners Actually See
After implementing a comprehensive moisture removal strategy, here’s what changes:
- Humidity drops from 60%+ to 35-45% within 2-4 weeks.
- Musty odors disappear almost immediately once dehumidifiers are running.
- Mold growth stops within days of humidity reduction.
- Your basement becomes usable—you can actually spend time down there without feeling like you’re in a cave.
- Your energy bills might go up slightly (from running a dehumidifier), but your property value increases significantly.
- Peace of mind. You’re not worrying about hidden damage or health risks.
One homeowner in Rochester spent $5,200 on a complete waterproofing and dehumidification system. Six months later, she finished her basement as a guest suite. That finished space increased her home’s value by nearly $20,000. The moisture solution paid for itself—and then some.
Bottom line: Fix moisture now and reclaim your basement as usable, valuable space.
Ready to Stop the Moisture Problem?
You don’t have to figure this out alone. Mark Frillici and his team at Healthy Spaces have been solving basement moisture problems for homeowners in Rochester and throughout the region since 2006. They’ve seen every type of water intrusion, every humidity level, and every mold scenario. They know what works and what doesn’t.
Whether you need a professional assessment, a complete waterproofing system, or just advice on what to tackle yourself, contact Healthy Spaces now for a free consultation. Mark personally oversees each project to ensure you get results that last.
Don’t wait for the damage to get worse. Don’t spend money on half-solutions that don’t actually fix the problem. Get it right the first time. Your basement—and your peace of mind—depends on it.
Your Basement’s Silent Enemy: Why Moisture Keeps Coming Back (And How to Stop It for Good)
You think you’ve fixed it. You installed a dehumidifier, sealed a few cracks, maybe even ran a fan for weeks. Then one morning—that smell’s back. The walls feel damp. You’re right back where you started.
This happens because most people treat moisture like a one-time problem. It’s not. It’s a cycle. And until you understand what’s keeping that cycle running, you’re just spinning your wheels—and throwing money away.
The real way to know how to remove moisture from basement isn’t about finding the perfect gadget or solution. It’s about understanding what’s actually happening in your space and why it keeps happening, even after you think you’ve fixed it.
The Moisture Cycle: Why Your Basement Keeps Getting Wet Again
Your basement’s moisture problem isn’t random. It follows a pattern—and once you see the pattern, you can break it.
Here’s what’s actually happening: Water enters your basement from one of two directions. Either it’s coming from outside (groundwater pushing through cracks, seeping under walls, or pooling against your foundation) or it’s forming inside (condensation on cold surfaces). Once that moisture is there, it doesn’t just disappear. It creates conditions that keep pulling more moisture in.
Think of it like this. Your basement is naturally cooler than the rest of your house. Cold surfaces attract moisture from warm air—that’s condensation. The moisture sits there, creating dampness. That dampness feeds mold spores. Mold releases spores into the air, which land on more surfaces. Those surfaces stay damp because the cycle never stops.
And if water’s actively seeping in from outside? That just accelerates everything. You’re not fighting condensation anymore—you’re fighting active water intrusion plus the condensation it creates.
One homeowner in Rochester ignored a slow seep in her basement corner for six months. She thought a dehumidifier would handle it. By the time she called Healthy Spaces, the wall studs behind the drywall were rotting, and mold had spread across 40 square feet of foundation. What started as “a little dampness” cost $12,000 to remediate. The seep itself? It would’ve been $2,500 to fix initially.
Bottom line: Moisture creates conditions that attract more moisture—break the cycle or watch it repeat.
Seasonal Moisture Shifts: Why Spring and Summer Are Your Enemy
Your basement doesn’t have the same moisture problem year-round. It gets worse at certain times—and if you don’t prepare for it, you’ll get blindsided.
Spring is the worst. Snowmelt plus heavy rain means groundwater levels rise. That pressure pushes water against your foundation harder than any other time of year. If you’ve got foundation cracks, they’re going to leak. If your drainage system isn’t working, water will pool against your walls.
Summer brings a different problem: humidity. The air outside is warm and wet. If your basement isn’t sealed properly, that humid air gets pulled in—especially at night when your basement is cooler than the outside air. You get condensation on pipes, walls, and floors.
Fall is usually your best window. Humidity drops, temperatures moderate, and groundwater levels recede. This is when you should be doing maintenance, checking your sump pump, and making sure your exterior drainage is clear.
Winter’s tricky. If you live somewhere with freeze-thaw cycles, water gets into cracks, freezes, expands, and makes the cracks bigger. That’s structural damage happening slowly, right under your nose.
The point? Your basement’s moisture problem isn’t the same in March as it is in July. If you’re running the same dehumidifier setting year-round, you’re either wasting money or not doing enough.
Bottom line: Adjust your moisture strategy seasonally—spring needs waterproofing, summer needs dehumidification.
The Hidden Problem: Capillary Action (And Why Your Basement Stays Damp)
There’s a phenomenon happening in your basement walls right now that most homeowners don’t know about. It’s called capillary action, and it’s why your basement can feel damp even when there’s no visible water.
Capillary action is when water moves upward through tiny pores in concrete and masonry—basically, the material pulls moisture up from the ground like a sponge pulls up water. Your basement foundation is surrounded by soil that’s almost always damp (especially below the water table). That moisture gets pulled up through the foundation walls, even without cracks or obvious leaks.
This is why a basement can feel perpetually damp. You’re not just dealing with water seeping in—you’re dealing with water being actively pulled up through the foundation itself.
The fix isn’t just dehumidification. You need a moisture barrier. This can be as simple as a waterproof coating on your interior walls or as involved as installing interior drainage systems that stop the water before it reaches your living space. Some homeowners use a combination: a vapor barrier on the floor plus a dehumidifier to handle what gets through.
Mark from Healthy Spaces once explained it this way: “Most people think water intrusion is a crack in the wall. But capillary action is water traveling through the wall itself. You can seal every visible crack and still have a damp basement because the moisture’s coming through the material.”
That’s why interior foundation waterproofing systems work so well—they intercept water at the foundation line before it spreads across your floor.
Bottom line: Water moves through concrete, not just through cracks—you need barriers, not just crack repair.
Insulation and Air Sealing: The Overlooked Moisture Fighters
Most people think about moisture removal and forget about the air itself. But here’s the thing: if your basement isn’t insulated and sealed properly, you’re fighting a losing battle.
Uninsulated basement walls are cold—really cold. Cold surfaces pull moisture from the air. So even if you’re running a dehumidifier 24/7, you’re just managing the symptom. The real problem is that your walls are acting like moisture magnets.
Adding insulation to basement walls does two things. First, it brings the wall temperature up, so it stops pulling moisture from the air. Second, it acts as a vapor barrier, slowing down moisture movement through the wall itself.
Air sealing is just as critical. Small gaps around basement windows, utility penetrations, and rim joists let outdoor air (and moisture) flow in. Seal those gaps with expanding foam or caulk, and you’ve just cut off one of moisture’s main entry points.
A homeowner in Rochester added 2 inches of foam insulation to her basement walls and sealed air leaks around her rim joist. Her humidity dropped 12% without running the dehumidifier any longer. She’d been fighting the cold walls instead of fighting the actual moisture problem.
The investment? About $3,000. The payoff? Lower humidity, lower heating costs in winter, and a basement that actually stays dry.
Bottom line: Insulate and seal your basement—it’s cheaper than running dehumidifiers forever.
Testing Your Solutions: How to Know If You’re Actually Winning
You can’t manage what you don’t measure. So if you’re trying to fix your basement’s moisture problem, you need to track your progress.
Get a hygrometer—seriously, they cost $15 at any hardware store. Place it in the dampest corner of your basement and record the humidity level before you do anything. Then start your solution (dehumidifier, sealing, whatever you’re doing) and check it weekly.
You should see results within 2-4 weeks. If humidity drops from 65% to 50%, you’re making progress. If it stays the same or keeps climbing, your solution isn’t working—and you need to reassess.
Also track other signs. Is the musty smell fading? Are you seeing less condensation on pipes? Are mold spots stopping their spread? These are real indicators that your strategy is working.
The mistake most people make: they install a dehumidifier, run it for a week, and assume it’s working. Then they turn it off to save money and wonder why the dampness comes back. You’ve got to be consistent and you’ve got to measure.
One homeowner in Rochester was shocked when his humidity stayed at 58% despite running a dehumidifier. Turned out the unit was undersized for his basement. He upgraded to a 50-pint system, and within days, humidity dropped to 42%. He’d been fighting with the wrong tool.
Bottom line: Measure humidity weekly—if it’s not dropping, your solution isn’t working.
When DIY Fails: The Waterproofing Problems Only Pros Can Fix
Some moisture problems you can handle yourself. Others will wreck you if you try.
Small cracks, minor condensation, poor ventilation—these are DIY territory. Seal the cracks, run a fan, get a dehumidifier. You’ve got this.
But foundation settling, active water intrusion, or water coming through the foundation itself? That’s not a DIY fix. And if you try to patch it yourself, you’re just delaying the inevitable structural damage.
Here’s why: foundation problems get worse over time. A crack that’s 1/8 inch wide today will be 1/4 inch wide in two years if water keeps pushing through it. The concrete around it weakens. Eventually, you’re looking at foundation repair—not just waterproofing.
Professional basement waterproofing and drainage systems come with warranties because pros know what works. If they install an interior drainage system and water still gets in, they fix it—on their dime. If you DIY it and fail? You’re out the money and the time.
One homeowner tried sealing his foundation cracks with hydraulic cement. Two months later, water was pouring in worse than before because the cement had cracked and shifted. The repair cost him $8,000. If he’d called a pro initially, it would’ve been $4,500.
Bottom line: DIY fixes work for condensation, not for structural water intrusion—know the difference.
The Maintenance Game: Keeping Moisture Away Long-Term
You’ve fixed your basement’s moisture problem. Now what? You maintain it, or it comes back.
Monthly: Check your hygrometer. If humidity’s creeping back up, you need to adjust your dehumidifier or ventilation. Clean or replace dehumidifier filters—a clogged filter kills efficiency.
Quarterly: Walk your basement and look for new stains, cracks, or dampness. Catch problems early, before they spread.
Seasonally: Before spring (your worst moisture season), test your sump pump. Make sure it’s running, clean the intake, and verify the discharge line is clear. Before summer, check your gutters and downspouts—clogged gutters send water straight to your foundation.
Annually: Have a professional inspect your foundation and drainage systems. They’ll catch things you missed.
The cost of maintenance? Minimal. The cost of ignoring it? We’ve already covered that—$15,000 to $30,000 in repairs.
One homeowner set a phone reminder to check his basement humidity on the first of every month. Takes him five minutes. He caught a developing leak in his sump pump discharge line before it became a problem. Fixed it for $300 instead of dealing with a flooded basement.
Bottom line: Monthly monitoring and seasonal maintenance prevent expensive repairs—set it and forget it doesn’t work.
FAQ: Your Moisture Questions Answered
How long does it take to remove moisture from a basement?
For condensation-based moisture, a properly sized dehumidifier can drop humidity levels noticeably within 3-7 days and significantly within 2-4 weeks. For water intrusion, the timeline depends on the fix—interior drainage systems work immediately, but it takes weeks for the basement to fully dry out.
Can I remove basement moisture without a dehumidifier?
Yes, if the moisture is from condensation. Ventilation, insulation, air sealing, and keeping basement temperatures warmer all reduce moisture. But if you’re dealing with water intrusion, a dehumidifier alone won’t solve it—you need waterproofing first.
What’s the cheapest way to remove moisture from a basement?
Improving ventilation (opening windows, running fans) is free. A dehumidifier costs $200-$600 upfront plus $10-$20/month to run. Waterproofing is expensive ($3,000-$8,000) but solves the problem permanently, whereas dehumidifiers are ongoing costs.
Is basement moisture dangerous to my health?
Yes. Moisture feeds mold growth, which releases spores that trigger allergies, asthma, and respiratory issues. High humidity also creates an environment for dust mites and other allergens. The longer moisture persists, the worse the health risk becomes.
How do I know if my basement moisture is from water intrusion or condensation?
Water intrusion shows up as wet spots concentrated in corners or along walls, especially after rain. Condensation appears as beads of water on pipes and cold surfaces, and it’s usually worst in summer. A professional inspection can pinpoint the source using moisture meters and thermal imaging.
Can I use a regular AC unit to remove basement moisture?
An AC unit removes some moisture as a byproduct of cooling, but it’s not designed for moisture removal and won’t be effective for basement humidity control. A dehumidifier is purpose-built for this job and works far better.
Stop Fighting Moisture—Get Professional Help Now
You’ve read the strategies. You understand the cycle. You know what works and what doesn’t.
But knowledge and action are different things. And if your basement’s moisture problem is anything beyond minor condensation, you’re going to need someone who knows how to remove moisture from basement the right way—the first time.
Mark Frillici and his team at Healthy Spaces have spent nearly 20 years solving these exact problems for homeowners in Rochester and beyond. They’ve seen every type of moisture issue, every failed DIY attempt, and every shortcut that blew up in someone’s face. They know what actually works.
Whether you need a professional moisture and mold inspection, a complete waterproofing system, or just an honest assessment of what you can tackle yourself, Healthy Spaces delivers results. Mark personally oversees each project to ensure you get the solution that fits your basement and your budget.
Contact Healthy Spaces now for a free consultation. Don’t wait until moisture becomes structural damage. Don’t throw money at half-solutions. Get it right the first time.
Your basement—and your peace of mind—depends on it.
Your Basement’s Most Expensive Problem Isn’t Water—It’s What Comes After
You fix the moisture, but six months later it’s back. You buy a dehumidifier, run it religiously, check your humidity levels like clockwork. Then one day you notice a smell you can’t quite place. That’s not just dampness anymore—that’s your basement telling you that moisture removal isn’t a one-time fix.
Most homeowners think fixing moisture is like fixing a leaky faucet. You address it once and move on. But moisture in basements doesn’t work that way. It’s a recurring threat that demands a different approach entirely. The real way to know how to remove moisture from basement isn’t just about the tactics—it’s about building a system that keeps it gone.
The Problem With Band-Aid Solutions (And Why They Always Fail)
A dehumidifier works. Until you turn it off. A sump pump prevents flooding. Until it clogs. Sealed cracks stay sealed. Until the freeze-thaw cycle hits and opens them right back up.
This is the trap most homeowners fall into—they solve the immediate problem without solving the root cause. You run a 50-pint dehumidifier for three months, humidity drops to 42%, and you think you’ve won. So you ease off, let the unit run less, maybe only turn it on when you remember. Then summer hits, outdoor humidity spikes, and suddenly you’re back to 58% humidity and that musty smell creeping in.
One Rochester homeowner did exactly this. She installed a dehumidifier, watched her humidity normalize, then assumed the problem was solved. She cut the runtime in half to save on electricity. Within eight weeks, mold was visibly growing on her basement wall again. The dehumidifier was never the problem—her approach was.
The difference between a permanent fix and a temporary one comes down to this: you can’t treat moisture removal like a project with a finish line. You have to treat it like a system you manage indefinitely.
Bottom line: Temporary fixes fail because they don’t address what keeps pulling moisture back in.
The Real Cost of Reactive vs. Preventive Strategies
Let’s talk money, because this is where it gets real.
A reactive approach—waiting until you see mold, water pooling, or structural damage before taking action—costs roughly three to five times more than prevention. You’re looking at $15,000 to $30,000+ in remediation, structural repair, and mold treatment. That’s not including the health costs, the stress, or the time spent dealing with contractors.
A preventive approach—installing proper waterproofing, running a dehumidifier consistently, maintaining your drainage systems—costs $3,000 to $8,000 upfront. Yes, that’s real money. But you’re not just spending less; you’re actually protecting your property’s long-term value.
Here’s what most people miss: every month you wait, the damage compounds. Mold doesn’t just sit in one spot—it spreads. Wood rot doesn’t stop once it starts. The longer moisture stays, the more expensive the fix becomes. One homeowner in Rochester ignored a basement seep for four months thinking it was “just condensation.” By the time he called for help, the repair needed had grown from a $2,500 job to a $9,000 one. The delay cost him $6,500.
Think about it this way: would you rather pay $5,000 now to keep your basement dry forever, or pay $20,000 later to fix what moisture destroyed?
Bottom line: Prevention costs less than remediation—every single time.
Building Your Moisture Management System (Not Just a Solution)
This is where things shift. Instead of thinking about “fixing” moisture, think about building a system that manages it continuously.
A moisture management system has layers. The first layer is waterproofing—stopping water from getting into your basement in the first place. This means proper basement drainage systems, sealed foundation cracks, and maybe a sump pump depending on your water table. This layer handles water intrusion.
The second layer is humidity control. This is your dehumidifier, your ventilation, your air sealing. This layer manages condensation and ambient moisture. It works even on days when no water’s trying to get in.
The third layer is monitoring and maintenance. This is where most people fail. You need to check your humidity levels monthly, test your sump pump quarterly, inspect for new cracks seasonally, and have a professional assessment done annually. Sounds like a lot? It’s not. It’s maybe two hours of your time per year, and it prevents thousands in damage.
The fourth layer is response. When you spot a problem—humidity creeping up, a new stain on the wall, condensation that won’t go away—you respond immediately instead of waiting. You don’t let problems sit and compound.
A homeowner in Rochester built this exact system. She invested in interior waterproofing, installed a 50-pint dehumidifier, set a monthly reminder to check humidity, and called Healthy Spaces for an annual inspection. Five years later, her basement’s been bone dry. The initial investment was $6,200. The damage she prevented? Easily $20,000+.
Bottom line: A system beats a solution every time—layers work, single fixes don’t.
The Humidity Sweet Spot (And Why 50% Isn’t Just a Number)
You’ve probably heard that basements should stay between 30% and 50% humidity. That’s not arbitrary.
Below 30% and you’re in dry conditions—rare in basements, but possible in winter with active heating. At this level, you’re actually fighting dryness, which can cause other problems like dust and cracking in wood framing.
Between 30% and 50% is the sweet spot. Mold doesn’t thrive here. Dust mites don’t reproduce. Your basement stays comfortable. Water damage slows dramatically.
Between 50% and 60% and you’re in the danger zone. Mold spores start germinating. Dust mites multiply. The musty smell creeps in. This is where you’re losing the battle.
Above 60% and you’ve got an active mold and moisture crisis. This isn’t “a little damp anymore”—this is structural risk.
The reason 50% matters so much is that it’s the tipping point. Below it, you’re safe. Above it, you’re feeding a problem. This is why monitoring with a hygrometer isn’t optional—it’s how you know if your system is actually working.
One homeowner installed a dehumidifier but never measured her humidity. She assumed it was working because she didn’t smell anything. Two years later, when she finally tested it, she was at 62% humidity. The dehumidifier was undersized for her basement. She’d been running it uselessly for two years while mold quietly colonized behind her walls. A $400 upgrade to a bigger unit caught the problem before it became catastrophic.
Bottom line: Measure humidity monthly—it’s your early warning system.
The Forgotten Maintenance That Saves Thousands
Here’s what separates homeowners who keep their basements dry from those who don’t: maintenance.
Not glamorous maintenance. Not the kind you post about on social media. The boring kind. Checking your sump pump. Cleaning your gutters. Testing your dehumidifier filter. Visually inspecting your foundation.
A sump pump sitting in stagnant water gets clogged. A clogged sump pump doesn’t pump. A non-functioning sump pump means the next heavy rain floods your basement. One homeowner in Rochester ignored his sump pump for two years. When it finally failed during a spring thaw, water poured in. The repair cost $8,000. The sump pump itself? He could’ve maintained it for $0—just regular checks.
Gutters clogged with leaves funnel water straight to your foundation instead of away from it. Dehumidifier filters get clogged and the unit runs at half efficiency without you knowing it. Foundation cracks get bigger each freeze-thaw cycle if nobody’s watching them.
The maintenance checklist is simple. Monthly: check humidity, visually inspect walls and floors for new moisture signs. Quarterly: test your sump pump, clean dehumidifier filters, check gutters. Seasonally: inspect foundation for new cracks, test sump pump backup power, check grading around your foundation. Annually: have a professional do a full assessment.
That’s it. Maybe three hours of work spread across a year. And that three hours prevents emergencies that cost thousands and destroy your peace of mind.
Bottom line: Maintenance prevents disasters—set reminders and stick to them.
When Your System Needs a Professional Upgrade
You can manage a lot yourself. But there’s a line where DIY reaches its limit, and crossing it costs you money.
You can run a dehumidifier. You can seal small cracks. You can improve ventilation. These are in-your-wheelhouse tasks.
But if you’re dealing with active water intrusion, structural damage, or widespread mold, you need professional mold remediation and foundation repair. These aren’t areas where trial and error is acceptable. A failed DIY waterproofing attempt costs you the money you spent plus the actual repair cost when you hire a pro to fix it right.
The same goes for professional mold inspections. You might see mold on your walls, but there’s probably mold you can’t see—behind drywall, in crawl spaces, in insulation. A professional inspection with moisture meters and thermal imaging finds it. Catching hidden mold early saves tens of thousands in remediation.
Think of it this way: a professional assessment costs $300 to $500. The damage they identify and help you prevent? Easily $10,000 to $25,000. That’s not an expense—that’s an investment with a 20-to-1 return.
Bottom line: Professional assessment finds problems you can’t see and saves massive money.
The Truth About Moisture and Your Property Value
Here’s something most homeowners don’t realize: a dry basement increases your home’s value more than almost any other basement improvement.
Buyers don’t care about finished basements with nice paint and flooring if there’s mold or water damage history. They care about basements that are actually dry and safe. A home inspector will catch moisture problems instantly, and it’ll tank your sale price or kill the deal entirely.
But a basement that’s genuinely dry—with proper waterproofing, documented maintenance, and no mold history—that’s valuable. One homeowner in Rochester spent $5,200 on a complete moisture removal and waterproofing system. When she sold her home two years later, the buyer specifically mentioned that the dry basement was a major factor in his decision. Her home sold for $18,000 more than comparable homes in the neighborhood. The moisture system paid for itself three times over.
Even if you’re not selling, a dry basement lets you actually use the space. Finished basements, storage that doesn’t rot, a safe play area for kids—none of that’s possible if moisture is constantly creeping in. You’re not just protecting your property’s value; you’re reclaiming usable square footage.
Bottom line: Dry basements sell faster and for more money—plus they’re actually usable.
Your Next Move: Building Your System Now
You know how to remove moisture from basement now. You understand the cycle, the costs, the maintenance, the difference between temporary fixes and permanent systems.
The question is: are you going to act on it?
Most homeowners know what to do but wait for a crisis before doing it. Water starts pooling. Mold appears. The smell becomes unbearable. Then they scramble to find help while damage accelerates.
Don’t be that homeowner. Start your system now while you can still do it affordably and on your timeline.
If you’re in the Rochester area and you want professional help building your moisture management system, Mark Frillici and his team at Healthy Spaces have spent nearly 20 years solving exactly these problems. Mark personally oversees each project to make sure you get a system that actually works—not just a quick fix.
Contact Healthy Spaces now for a free assessment. Find out what your basement actually needs. Get a real plan. Stop guessing and start protecting your property.
FAQ: Your Moisture Questions Answered
What’s the fastest way to lower basement humidity?
A properly sized dehumidifier (50-pint for larger basements) drops humidity noticeably within 3-7 days and significantly within 2-4 weeks. Running it 24/7 with a continuous drain hose gets results fastest.
How often should I check my basement humidity?
Check your hygrometer monthly at minimum. Weekly checks during spring and summer (when humidity typically spikes) give you better early warning of problems.
Can I use a regular fan instead of a dehumidifier?
A fan moves air and helps with condensation, but it doesn’t remove moisture from the air—a dehumidifier does. Fans work best paired with dehumidifiers, not as replacements.
What humidity level means I have a mold problem?
Mold starts thriving above 50% humidity. If you’re consistently at 55% or higher, mold growth is happening. Above 60% means active mold development is almost certain.
How long does a basement waterproofing system last?
Professional waterproofing systems last 15-25+ years depending on the type and maintenance. Interior drainage systems often outlast exterior solutions because they’re not exposed to weather damage.
Should I seal my basement walls myself or hire a pro?
Small cracks under 1/8 inch can be DIY sealed with concrete filler. Larger cracks, active leaks, or widespread seeping needs professional interior foundation waterproofing to prevent structural damage.
What’s the difference between water intrusion and condensation?
Water intrusion is liquid water entering through cracks, seepage, or pooling—it’s visible and aggressive. Condensation is moisture forming on cold surfaces from humid air—it’s sneakier but equally damaging if ignored.
Can I prevent basement moisture without a dehumidifier?
Yes, if there’s no active water intrusion. Proper waterproofing, ventilation, insulation, and air sealing can manage condensation. But if water’s actively getting in, you need waterproofing first, then dehumidification to handle what gets through.