Contact Us For a Free Qoute
Fixing Basement Walls: Stop Costly Damage Now
Your Basement Walls Are Cracking, Leaking, and Getting Worse Every Day—Here’s What You Need to Know About Fixing Basement Walls
You notice it first as a hairline crack in the corner of your basement wall. A few weeks later, water’s seeping through during heavy rain. Then the efflorescence—that white, chalky powder—starts spreading across the concrete like a warning sign you can’t ignore.
Fixing basement walls isn’t something you can procrastinate on.
Water damage compounds fast. What looks like a minor issue today can turn into structural failure, mold growth, and tens of thousands in repairs within months. The good news? You’ve got options, and catching the problem early makes all the difference.
This guide walks you through everything you need to know about fixing basement walls—what causes damage in the first place, how to spot problems before they spiral, and what solutions actually work.
Why Basement Walls Fail (And It’s More Common Than You Think)
Basement walls take a beating. They’re surrounded by soil, exposed to groundwater pressure, and subject to freeze-thaw cycles that crack concrete year after year.
Here’s what’s actually happening beneath your feet:
Hydrostatic pressure is the biggest culprit. Water in the soil around your foundation pushes against the walls with serious force—sometimes thousands of pounds per square foot. Over time, this pressure finds cracks, and water follows. One homeowner in Rochester noticed water pooling in her basement after just two heavy rainstorms. What she didn’t realize was that hydrostatic pressure had been building for years, waiting for the right conditions to breach the wall.
Freeze-thaw cycles crack concrete from the inside out. Water seeps into tiny pores in the concrete, freezes when temperatures drop, and expands—pushing the concrete apart. Each winter cycle deepens the damage. By spring, new cracks appear where none existed before.
Poor drainage around the foundation is another silent killer. If water pools against your basement walls instead of flowing away, it stays in contact with the concrete longer, penetrating deeper. Gutters that overflow, downspouts that discharge too close to the foundation, or grading that slopes toward the house—all of these funnel water straight to your walls.
Structural settling happens when the soil beneath your foundation shifts or compacts unevenly. This movement stresses the walls, creating new cracks or widening existing ones. It’s not always dramatic—sometimes it’s just a slow, steady shift that adds up over decades.
Concrete deterioration is real. Concrete isn’t indestructible. Sulfates in the soil attack the concrete chemically, weakening it from the outside in. Combined with water infiltration, this speeds up failure significantly.
Bottom line: Basement wall failure isn’t a single problem—it’s usually multiple stressors working together.
The Early Warning Signs You’re Missing
Most homeowners don’t act until water’s actively dripping into their basement. By then, you’re already in damage control mode.
Catch these signs early, and you’ll save yourself thousands:
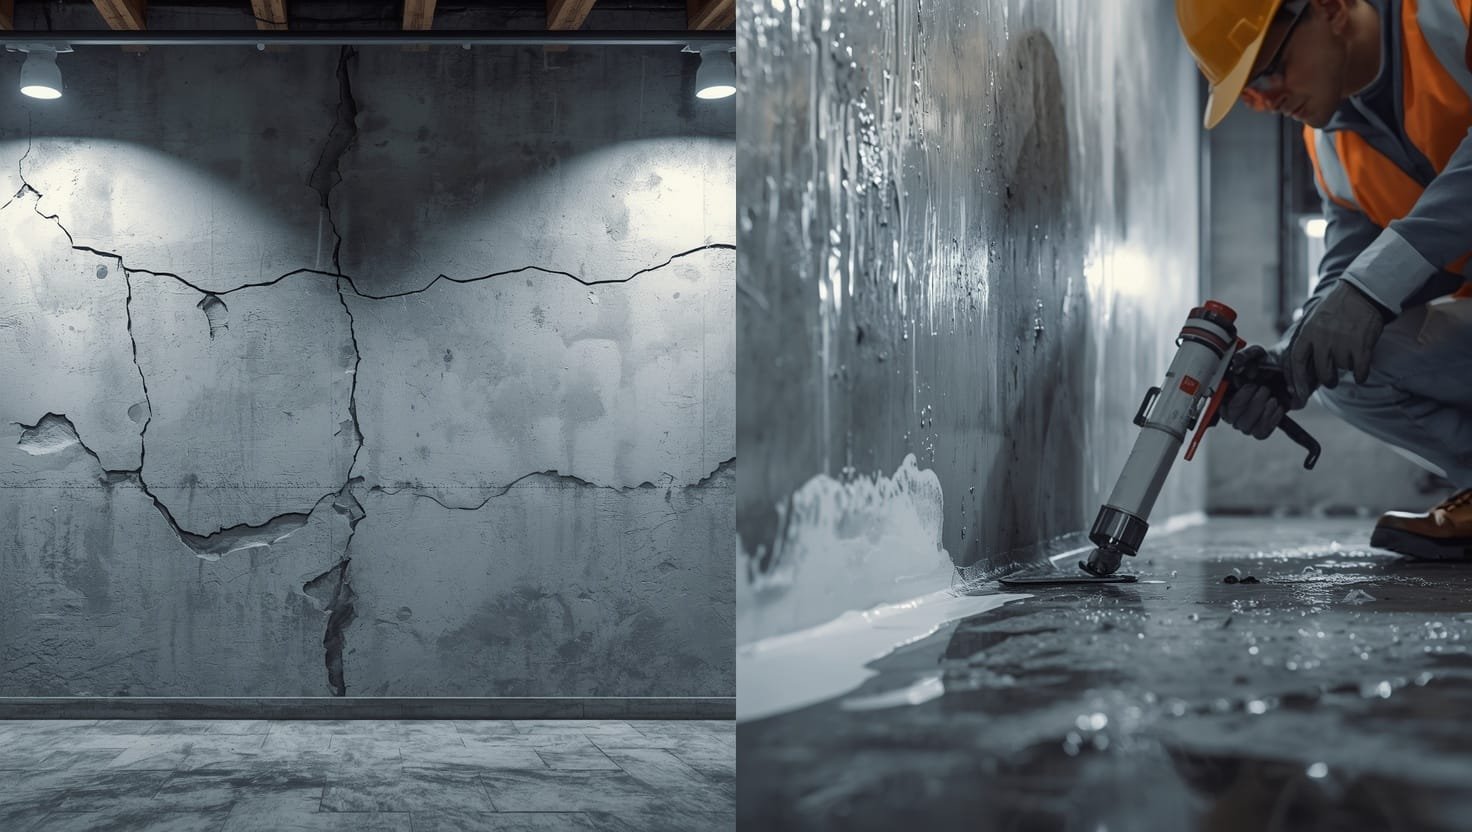
Hairline cracks appear first—usually at corners or running horizontally across the wall. They seem harmless, but they’re your first alert that pressure is building or movement is happening. Vertical cracks are typically less urgent than horizontal ones (which suggest active pressure), but both need attention.
Efflorescence—that white, powdery residue—tells you water’s moving through the concrete. It’s not the water itself; it’s mineral deposits left behind as water evaporates. If you’re seeing this, water’s penetrating deeper than you think.
Damp spots or wet patches on walls or floors, even when it hasn’t rained recently, signal that groundwater’s finding its way in. This is especially concerning if the dampness appears during spring snowmelt or after extended wet periods.
Mold or musty odors follow moisture. If your basement smells like mildew or you’re spotting dark patches on walls, water damage is already supporting microbial growth. This isn’t just a cosmetic issue—mold affects indoor air quality and your health. Professional mold remediation becomes necessary at this stage.
Bowing or leaning walls are a red flag for serious structural stress. If you notice the wall curving inward or leaning, water and pressure have been working against it for a while. This requires immediate professional assessment.
Peeling paint or bubbling sealant means water’s trapped beneath the surface, pushing outward. The sealant or paint was supposed to stop water—when it fails, water’s won.
One homeowner in Rochester waited six months before calling Healthy Spaces about a small crack and some dampness. By the time Mark Frillici’s team arrived, water had compromised the structural integrity of the wall, mold was growing behind the wall cavity, and the repair cost ballooned from what could’ve been $2,000 to over $8,000. The lesson? Don’t wait for it to get worse.
Bottom line: Early detection saves money—act on cracks and dampness before water becomes a structural problem.
The Real Cost of Ignoring Basement Wall Problems
You might think delaying repairs saves money in the short term. It doesn’t.
Water damage compounds exponentially. A small leak becomes a big one. Dampness turns into mold. Mold spreads to framing, insulation, and HVAC systems. Before you know it, you’re looking at foundation repair, full mold remediation, and possibly structural reconstruction.
Here’s what actually happens when you wait:
Month 1-3: Small crack, minor dampness. You notice it but figure it’s fine. Cost to fix now: $1,500–$3,000.
Month 3-6: Water appears during rain. You’re mopping your basement after storms. Efflorescence spreads. Cost to fix now: $4,000–$7,000.
Month 6-12: Mold’s growing. You smell it. Your basement becomes unusable. The crack’s wider. Cost to fix now: $8,000–$15,000.
Year 2+: Structural damage. Wall’s bowing. Mold’s everywhere. Foundation’s compromised. Cost to fix now: $20,000–$50,000+.
That’s not just the cost of fixing basement walls—that’s the cost of fixing your entire foundation, dealing with mold remediation, and potentially rebuilding structural elements.
Beyond the dollar amount, there’s the health impact. Mold spores trigger allergies, asthma, and respiratory issues—especially in kids and elderly family members. Water damage attracts pests. Your basement becomes a liability instead of usable space.
One Rochester business owner ignored a leaking basement wall for 18 months thinking it was “just moisture.” When he finally got it inspected, the damage required extensive foundation repair and complete mold remediation. Total bill: $47,000. He later told Mark Frillici he would’ve paid $5,000 immediately if he’d known the consequences.
Bottom line: Ignoring basement wall damage doesn’t save money—it multiplies costs by 5-10x.
Types of Basement Wall Damage and What They Mean
Not all basement wall problems are created equal. Different types of damage require different solutions.
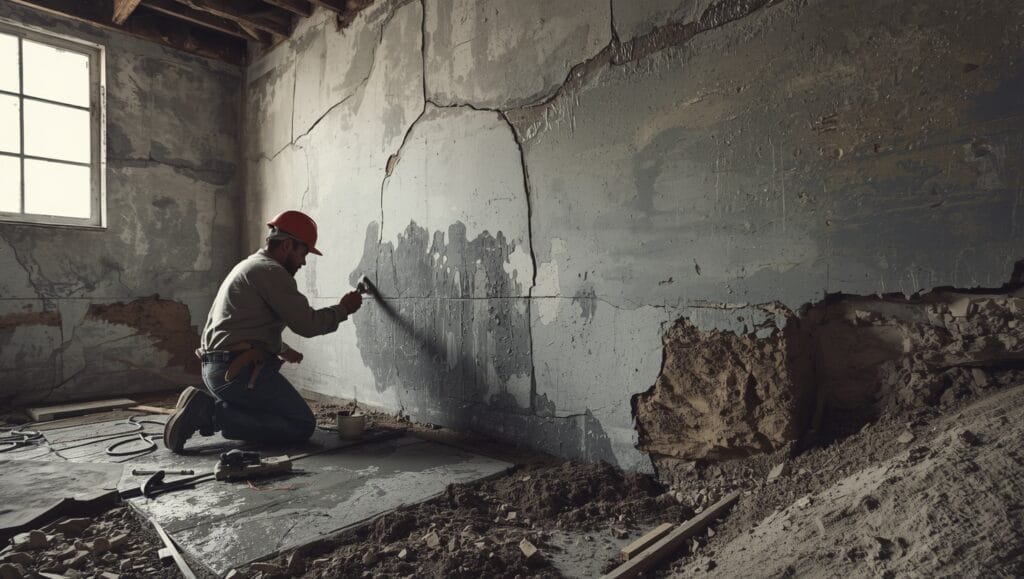
Vertical cracks usually come from concrete shrinkage as it cures or from minor settling. They’re common and often not immediately dangerous, but they’re entry points for water. If they’re growing wider, that’s a sign of ongoing movement.
Horizontal cracks are more serious. They indicate pressure from outside—hydrostatic pressure pushing the wall inward. These need attention faster because they suggest active, ongoing stress.
Stair-step cracks (cracks that follow the mortar joints in block or brick walls) signal uneven settling or pressure. They’re often found in older homes and require a professional assessment to determine severity.
Bowing walls mean the wall’s bending inward under pressure. This is advanced damage. The wall’s lost its structural integrity, and you need professional basement waterproofing combined with reinforcement—fast.
Leaking joints occur where the wall meets the floor or where two wall sections connect. Water finds these seams and uses them as highways. Sealing the joint stops water at the source.
Efflorescence and spalling mean the concrete’s breaking down. Spalling—where chunks of concrete are flaking off—shows chemical attack or freeze-thaw damage. The concrete’s losing strength, and the problem accelerates if left alone.
Mark’s team at Healthy Spaces has seen every type of damage imaginable across Rochester and beyond. The pattern’s always the same: the homeowners who caught it early—even just by getting a professional inspection—spent a fraction of what those who waited spent. Professional inspection isn’t expensive. Ignoring problems is.
Bottom line: Identify your damage type early—it determines your repair strategy and timeline.
Water Infiltration: The Silent Destroyer
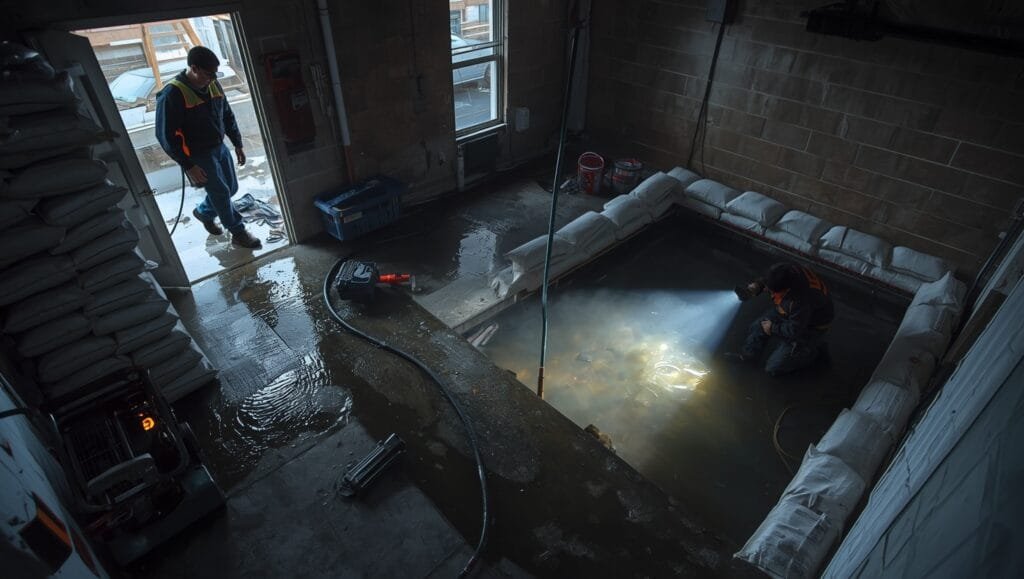
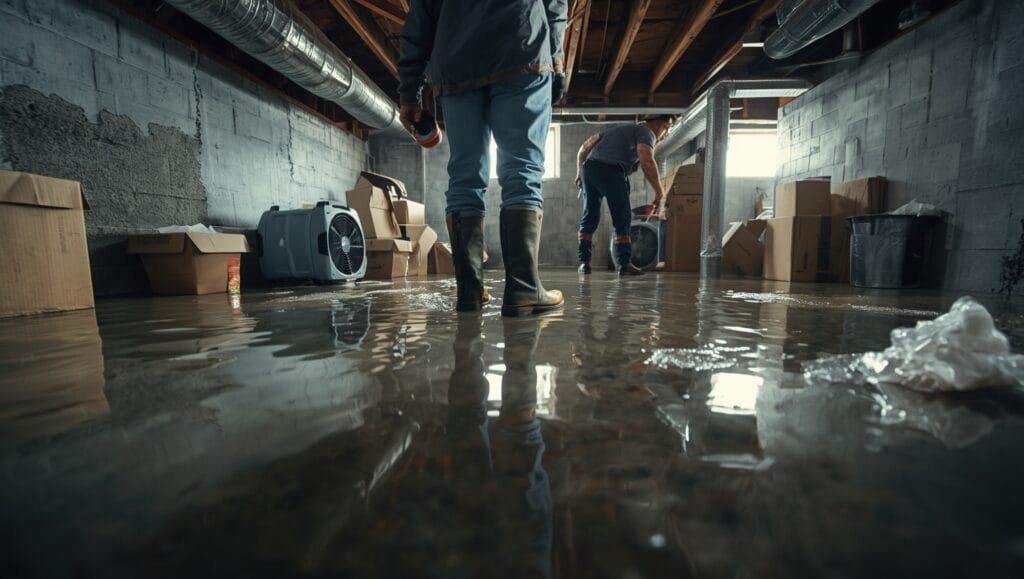
Water doesn’t just sit on your basement floor. It infiltrates. It seeps. It wicks up through concrete. It finds its way into wall cavities, framing, and insulation.
Once water’s inside your walls, you’ve got a much bigger problem than a wet basement.
Water infiltration happens in stages. First, it enters through cracks or porous concrete. Then it travels along the concrete surface, following the path of least resistance. If it reaches your foundation’s interior, it soaks into the framing—and wood rots. It saturates insulation—and insulation becomes useless while trapping moisture that feeds mold growth.
The worst part? You might not see it happening. Water can move through your walls invisibly for months before you notice damage. By then, structural rot’s already starting, and mold colonies are established.
This is why wet basements need drainage systems designed to handle water before it enters your walls. Perimeter drainage, sump pumps, and interior waterproofing membranes—these aren’t optional upgrades. They’re infrastructure that keeps water moving away from your foundation instead of into it.
One homeowner in Rochester thought water stains on her basement walls were just cosmetic. Two years later, when she finally called for an inspection, the wood framing behind the wall was rotting, and mold was thriving in the wall cavity. The repair required removing sections of the wall, replacing compromised framing, and remediating mold. Total cost: $12,500. If she’d addressed the water infiltration when she first saw those stains, the fix would’ve been waterproofing the wall and installing drainage—maybe $3,500.
Bottom line: Water infiltration spreads fast—stop it at the wall before it reaches framing and insulation.
The Difference Between Surface Sealing and Real Solutions
Here’s where a lot of homeowners get misled: you can’t just paint over a leaking basement wall and call it fixed.
Surface sealants—paint, caulk, epoxy coatings—might stop water temporarily, but they don’t address the root cause. They’re like putting a band-aid on a broken leg. The pressure’s still there. The water’s still finding a way through. Eventually, the sealant fails, water returns, and you’re back where you started.
Real solutions address the water’s source and the wall’s structural integrity. This means:
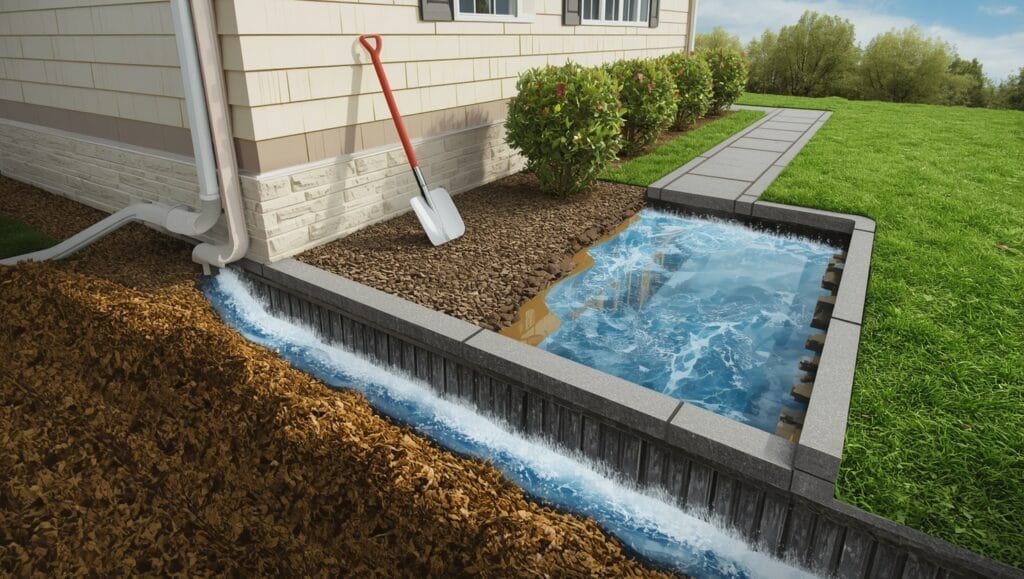
Fixing drainage around your foundation so water doesn’t pool against the walls in the first place. Gutters, downspouts, grading—all of these need to work together to move water away from your house.
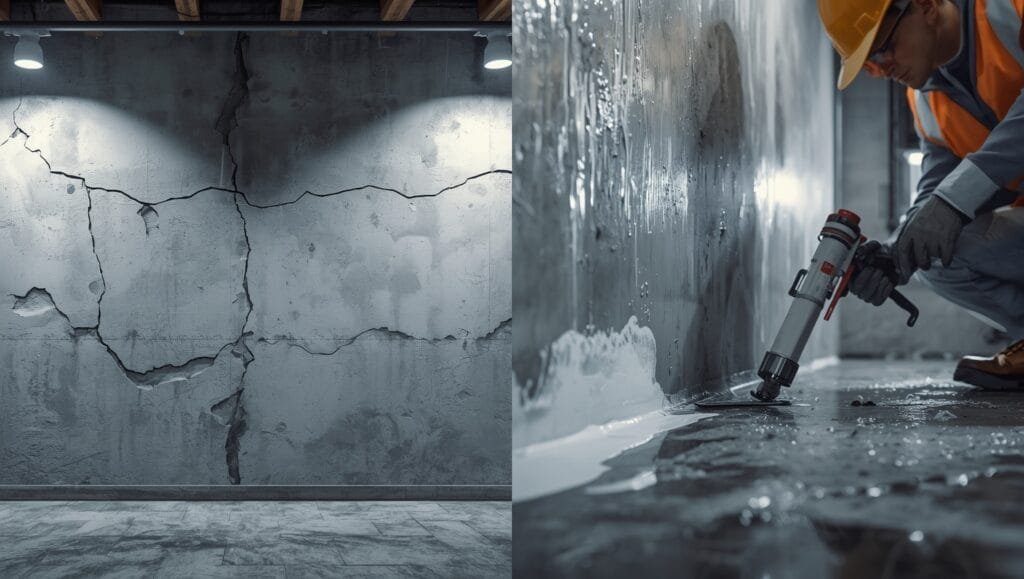
Repairing cracks with materials designed to flex and move as the foundation shifts. Rigid patches fail. Flexible, waterproof repairs last.
Installing interior or exterior waterproofing membranes that create a barrier water can’t penetrate. These are applied to the wall surface and sealed at all joints and penetrations.
Adding perimeter drainage systems that capture water that does reach the foundation and direct it away or to a sump pump.
Reinforcing compromised walls if structural damage has occurred. Sometimes this means carbon fiber straps or wall anchors to stabilize the wall against pressure.
The approach depends on your specific situation. A small vertical crack in a newer home might need just crack repair and interior waterproofing. A bowing wall in an older home might need exterior waterproofing, drainage installation, and reinforcement.
This is why professional assessment matters. Mark and his team at Healthy Spaces don’t sell you one-size-fits-all solutions. They diagnose the actual problem and recommend what’ll actually work for your foundation, your soil conditions, and your budget.
Bottom line: Surface sealants fail—real solutions address water sources and structural integrity.
What You’ll Actually Face When Fixing Basement Walls
Let’s be real about the process. Fixing basement walls isn’t a weekend DIY project for most situations.
If you’ve got small cracks and want to try interior repair yourself, you can clean out the crack, apply a flexible sealant, and monitor it. This works for hairline cracks that aren’t actively leaking. Cost: $100–$500 in materials and your time.
But if water’s actually flowing, the wall’s bowing, or you’ve got structural concerns—you need professionals. Here’s what that typically involves:
Inspection and diagnosis: A professional assesses the damage, determines the cause, and recommends solutions. This takes a few hours and costs $300–$800 depending on complexity. It’s not optional—guessing wrong means wasting money on the wrong fix.
Interior or exterior waterproofing: If water’s entering through the wall, a waterproof membrane gets applied to either the inside or outside of the wall. Interior work’s less disruptive but doesn’t address exterior pressure. Exterior work’s more involved (might require digging around the foundation) but solves the problem at the source. Cost: $3,000–$10,000 depending on wall length and method.
Drainage system installation: If hydrostatic pressure is the issue, you might need perimeter drainage—a system of pipes and gravel around your foundation that captures water and directs it to a sump pump or away from the house. This is a bigger project. Cost: $4,000–$15,000 depending on foundation size and accessibility.
Mold remediation (if needed): If water damage’s been there long enough for mold to grow, that gets addressed separately. Mold remediation includes containment, removal of affected materials, and treatment. Cost: $2,000–$10,000+ depending on extent.
Structural repair (if needed): If the wall’s bowing or framing’s compromised, reinforcement or replacement might be necessary. This is the expensive part. Cost: $5,000–$20,000+.
Timeline-wise, most basement wall repairs take 1–3 weeks depending on complexity. You might need to avoid the basement during certain phases (especially if mold remediation’s involved), but you don’t usually have to relocate.
Bottom line: Professional repairs cost $3,000–$15,000 for most situations—way less than ignoring it.
DIY vs. Professional Help: Know Your Limits
You can handle some basement wall issues yourself. You shouldn’t handle others.
You can DIY: Cleaning and sealing small, dry hairline cracks. Applying interior waterproof paint or coating to walls that aren’t actively leaking. Improving drainage by cleaning gutters and extending downspouts. These are low-risk projects that save money.
You need a professional for: Any active water leaks. Cracks wider than 1/4 inch. Bowing or leaning walls. Mold growth. Structural concerns. Exterior waterproofing. Drainage system installation. Anything involving your foundation’s integrity.
Why? Because mistakes with your foundation are expensive. A misdiagnosed problem means you’ll spend money on the wrong solution, then have to fix it again correctly. A structural issue you miss gets worse. Mold you don’t fully remediate spreads.
Mark’s team at Healthy Spaces handles this every day. They know what questions to ask, what to look for, and what solutions actually work in Rochester’s climate and soil conditions. A professional inspection might seem like an extra cost upfront, but it saves money by pointing you toward the right solution the first time.
Bottom line: DIY works for small, dry cracks—everything else needs professional assessment.
Fixing basement walls is about acting before small problems become big ones. You’ve now got the knowledge to spot damage early and understand what’s actually causing it. The next step is getting a professional to assess your specific situation and recommend the right solution.
Mark Frillici and his team at Healthy Spaces have been protecting Rochester homes for nearly 20 years. They’ve seen every type of basement wall damage and know exactly how to fix it—the right way. Contact Healthy Spaces today for a free inspection and honest assessment of what your basement walls need.
Your Basement Wall Repair Timeline Just Got Cut in Half—Here’s What Professional Fixing Basement Walls Actually Looks Like
Most homeowners think fixing basement walls takes months. They imagine construction crews tearing up their foundation, living in chaos, and bleeding money the whole time.
That’s not how it works.
When you get the right contractor—someone who knows what they’re doing—the process moves fast. We’re talking 1–3 weeks for most repairs. Your basement stays accessible. Life goes on. And your walls stop leaking.
But here’s the thing: the speed depends entirely on what you’re actually dealing with. A hairline crack? Different timeline than a bowing wall. And the sooner you know what you’re up against, the sooner you can get it fixed.
Let’s walk through what fixing basement walls actually involves—from the moment you call someone, to the day your basement’s dry again.
The First 48 Hours: Assessment Changes Everything
Most people don’t realize that the initial inspection is where everything gets decided.
When Mark’s team at Healthy Spaces shows up, they’re not just looking at your walls. They’re reading your foundation like a story—figuring out what caused the damage, how long it’s been happening, and what approach will actually stick.
They check for:
Crack patterns and direction. A vertical crack tells a different story than a horizontal one. Horizontal cracks mean pressure’s actively pushing. That changes the game.
Water entry points. Where’s the water coming from? Is it seeping through cracks, weeping from joints, or pooling because of bad drainage outside? The source determines the fix.
Moisture levels inside walls. They use moisture meters to check if water’s already penetrated deeper than you can see. This tells them whether you need just surface repair or full interior waterproofing.
Signs of past water damage. Staining, efflorescence, soft spots in concrete—these all paint a picture of how long this has been going on.
Structural integrity. Is the wall stable, or has pressure caused bowing? Is concrete spalling? This determines whether you need reinforcement.
One homeowner in Rochester called Healthy Spaces because he noticed a small crack and some dampness. Mark’s inspection revealed the wall had been weeping for probably two years—water was moving through it silently, and the concrete was starting to deteriorate from the inside. Early catch. Different outcome than if he’d waited another season.
This assessment phase costs $300–$800, but it’s non-negotiable. You’re paying for expertise that prevents you from wasting thousands on the wrong solution.
Bottom line: The right inspection takes hours and saves you thousands—don’t skip it.
Interior vs. Exterior Waterproofing: Which Path You’re Taking
Once the assessment’s done, you’ve got a choice—and it matters.
Interior waterproofing means sealing the wall from inside your basement. The contractor applies a waterproof membrane to the interior wall surface, seals all cracks and joints, and sometimes adds a drainage channel at the base to catch any water that does make it through.
Pros: Less disruptive. No digging around your foundation. Faster. Cheaper.
Cons: It stops water from entering your basement, but it doesn’t address the pressure pushing against the wall from outside. The wall’s still taking a hit—you’re just keeping it out of your living space.
Cost: $3,000–$7,000 for most basements.
Timeline: 3–7 days.
Exterior waterproofing means digging around your foundation, exposing the wall, cleaning it, and applying waterproof coating to the outside. Sometimes they install drainage board or a full drainage system to redirect water away from the foundation.
Pros: Solves the problem at the source. Reduces pressure on the wall. Prevents future damage. Lasts longer because you’re protecting the concrete itself.
Cons: Requires digging. More invasive. Takes longer. Costs more. Landscaping might need work afterward.
Cost: $6,000–$15,000 depending on wall length and soil conditions.
Timeline: 1–3 weeks.
Which one do you need? It depends on your situation. If the damage is recent and minor, interior waterproofing buys you time and keeps water out. If you’ve got structural concerns, bowing walls, or chronic water problems—exterior waterproofing’s worth the investment because it actually fixes the root issue.
Mark’s philosophy is simple: diagnose first, then recommend what’ll actually work for your specific foundation and your budget. Sometimes that’s interior. Sometimes it’s exterior. Sometimes it’s both.
Bottom line: Interior stops water now; exterior stops it forever—pick based on severity and budget.
What Happens When You’ve Got a Drainage Problem Too
Here’s where fixing basement walls gets more complex.
If your foundation’s surrounded by poor drainage, waterproofing alone won’t cut it. Water will keep pooling against your walls, hydrostatic pressure will keep building, and you’ll be fighting a losing battle.
This is when you need wet basement drainage systems.
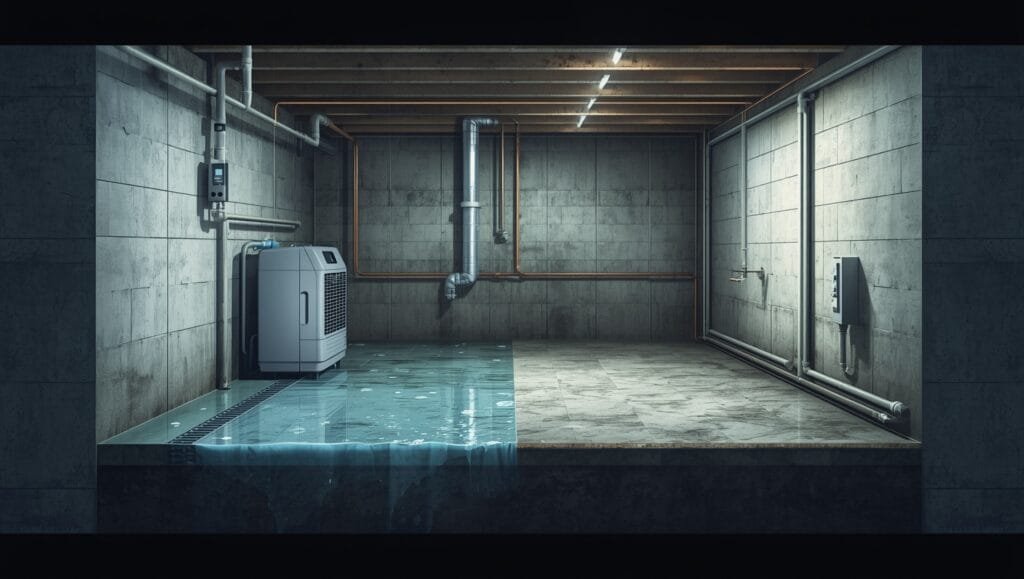
A perimeter drainage system works like this: a channel gets installed around the base of your foundation (inside or outside), connected to a sump pump that sits in a pit. When water accumulates, the pump kicks on and pushes it away from your house—either to the street, into a dry well, or away from the property.
Does this get expensive? Yeah. We’re talking $4,000–$15,000 depending on foundation size and whether you’re going interior or exterior.
But here’s the thing—it’s the difference between a temporary fix and a permanent one.
One Rochester business owner had water problems for three years. He kept waterproofing his walls, and the water kept coming back because he never addressed the drainage. Eventually, he called Healthy Spaces. Mark’s team installed a full perimeter drainage system with a sump pump. Cost him more upfront, but it’s been five years and he hasn’t had a single water issue since.
The lesson? Sometimes the cheapest fix isn’t the best fix. If your drainage sucks, you’re fighting gravity. And you can’t win that fight.
Bottom line: Bad drainage kills waterproofing—fix the source or keep throwing money away.
When Fixing Basement Walls Means Reinforcing Them
If your walls are bowing, leaning, or showing signs of structural stress—waterproofing alone won’t save you.
You need reinforcement.
This is where the work gets serious. Sometimes it means installing carbon fiber straps on the interior face of the wall. These straps are incredibly strong and prevent further bowing. They’re less invasive than some alternatives, and they work fast.
Other times, if the damage is severe, it means wall anchors or even steel I-beams on the exterior to stabilize the wall against hydrostatic pressure.
The most extreme cases? Sometimes sections of the wall need to be replaced entirely. This is rare, but it happens when concrete’s deteriorated beyond repair.
Cost for reinforcement alone: $5,000–$20,000+ depending on what’s needed.
Timeline: 2–4 weeks.
The good news is that Mark’s team catches these situations early. Most homeowners don’t wait until their walls are catastrophically damaged. But the ones who do? The ones who ignored the warning signs for years? They’re looking at major reconstruction.
One homeowner in Rochester ignored a horizontal crack for four years. By the time he called Healthy Spaces, the wall had bowed inward by nearly two inches. The fix required carbon fiber reinforcement, interior waterproofing, and a full drainage system. Total: $18,500. If he’d called when he first saw that crack? $4,000 would’ve handled it.
Bottom line: Bowing walls need reinforcement—waiting turns a $4K fix into a $20K disaster.
The Mold Question: When Fixing Basement Walls Isn’t Just About Water
If water’s been sitting in your basement for more than a few weeks, mold’s probably already growing.
This changes your scope of work.
You can’t just waterproof and call it done. Mold needs to be addressed separately. This means containment (so spores don’t spread through your house), removal of affected materials, and treatment with antimicrobial agents.
If mold’s behind your walls or in insulation, sections might need to be removed and replaced. This gets expensive fast.
Professional mold remediation costs $2,000–$10,000+ depending on extent. And it’s not optional—mold affects your health, especially if anyone in your house has respiratory issues or a compromised immune system.
This is why catching water problems early matters so much. You’re not just preventing structural damage. You’re preventing mold from taking root in your walls.
One homeowner waited eight months before addressing a leaking basement wall. By the time she called Healthy Spaces, mold was thriving in the wall cavity. The remediation alone cost $7,000. Add the waterproofing and reinforcement, and she was looking at $14,000 total. If she’d called after the first month? The waterproofing alone would’ve been $4,000.
Bottom line: Water + time = mold—act fast or pay double for remediation.
Real Timeline: From Call to Completion
So what does the actual process look like from start to finish?
Day 1: You call. You describe the problem. They schedule an inspection, usually within 24–48 hours.
Day 2–3: Inspection happens. Mark’s team assesses everything, takes photos, and explains what needs to happen. You get a written estimate with options.
Day 4–7: You decide on a solution. They schedule the work. If it’s interior waterproofing, they might start immediately. If it’s exterior work, they might need to coordinate with landscaping or wait for weather.
Week 2: Work begins. For interior waterproofing, this is quick—prep the wall, apply membrane, seal joints, done. For exterior work, they’re digging, cleaning, applying coating, installing drainage.
Week 2–3: Work wraps up. They do a final inspection. You walk through and verify everything’s done right.
Post-repair: You get a warranty. Most waterproofing carries a 10–15 year warranty. Reinforcement work’s usually lifetime on materials.
Total time from first call to dry basement: 2–4 weeks for most jobs.
Some situations move faster. Some move slower. But that’s the ballpark.
Bottom line: Most basement wall repairs take 2–4 weeks start to finish—not months.
FAQ: Common Questions About Fixing Basement Walls
How do I know if I need interior or exterior waterproofing?
Interior waterproofing works for recent damage with minor cracks and no structural issues. Exterior waterproofing is better for chronic problems, bowing walls, or severe pressure situations. A professional inspection tells you which one fits your situation.
Can I waterproof my basement myself?
You can apply interior sealant to small, dry cracks yourself. Anything involving active leaks, structural concerns, or exterior work needs professionals—DIY mistakes compound the problem and cost more to fix.
What’s the difference between a sump pump and a drainage system?
A sump pump removes water that’s already accumulated in a pit. A drainage system prevents water from accumulating in the first place by directing it away from your foundation. You often need both for chronic water problems.
Will waterproofing stop my basement from smelling musty?
It’ll help, but if mold’s already established, you need professional mold inspection and remediation first. Waterproofing prevents future mold growth, but it doesn’t remove existing colonies.
How long does basement wall repair last?
Interior waterproofing lasts 10–15 years. Exterior waterproofing lasts 20+ years. Structural reinforcement is typically guaranteed for life. Sump pumps need maintenance every 3–5 years to stay reliable.
Can I use my basement while repairs are happening?
For interior waterproofing, yes—you might need to avoid the area being worked on, but you can access the rest. For exterior work, you won’t be affected inside at all. If mold remediation’s involved, you might need to stay out during containment and treatment.
Stop Waiting—Get Your Basement Fixed Before It Gets Worse
Fixing basement walls isn’t complicated when you know what you’re looking at.
The problem is most homeowners wait too long. They watch a crack grow. They notice dampness. They smell mold. And then they finally call someone—at which point the repair’s tripled in cost.
Mark Frillici and his team at Healthy Spaces have been protecting Rochester homes since 2006. They’ve handled thousands of basement wall repairs—from simple waterproofing to complex structural reinforcement. They know what works, what doesn’t, and what your foundation actually needs.
Don’t guess. Don’t wait. Contact Healthy Spaces today for a free inspection and honest assessment. Get the real timeline. Get the real cost. Then make the decision to fix it before water turns into a $50,000 problem.
Your basement’s worth it. Your health’s worth it. Your peace of mind’s definitely worth it.
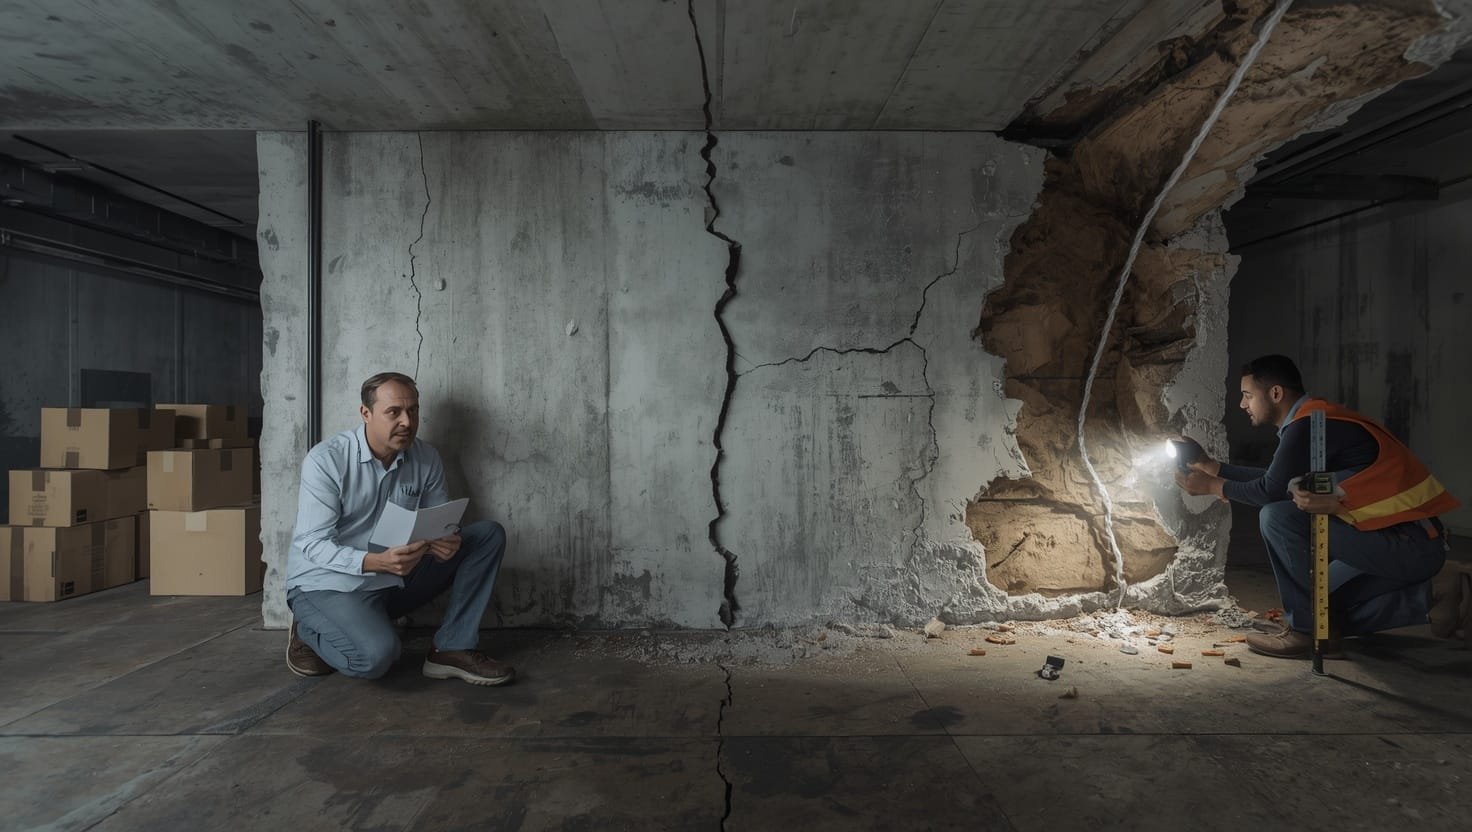
Your Basement Walls Are Failing in Ways You Can’t See—The Hidden Damage That Costs Homeowners $30K+ to Fix
You walk down the stairs. The wall looks fine. No cracks. No visible water. You’re thinking you’ve dodged a bullet.
Then you touch the concrete and it feels soft. Damp. When you press your finger against it, the surface crumbles a little.
That’s not fine.
Fixing basement walls isn’t just about stopping water you can see. It’s about stopping the damage happening behind the scenes—the kind that eats through concrete from the inside out, weakens the structural integrity of your entire foundation, and turns a $3,000 repair into a $30,000+ nightmare.
The worst part? Most homeowners don’t know this damage exists until it’s already advanced.
What’s Actually Happening Inside Your Concrete Right Now
Concrete looks solid. It’s not. It’s porous—packed with tiny air pockets and capillaries that water moves through like highways.
When water infiltrates your walls, it doesn’t just sit on the surface. It travels deep. It reaches the rebar (the steel reinforcement inside the concrete). It starts corroding the metal. And as the metal expands from rust, it cracks the concrete around it from the inside.
This is called rebar corrosion, and you won’t see it happening until the damage is severe.
One homeowner in Rochester had what looked like minor dampness on his basement wall. Mark’s team from Healthy Spaces used moisture meters and infrared imaging to check deeper. The moisture content was 15% (normal is 3-5%). When they investigated further, the rebar was already showing early rust staining. Another year of ignoring it? The concrete would’ve started spalling and cracking visibly. Total damage if he’d waited: probably $18,000. Catching it early cost him $5,500 for interior waterproofing and reinforcement.
Concrete also deteriorates chemically. Sulfates in groundwater attack the calcium compounds that hold concrete together. This process is silent. It’s slow. But it’s relentless. Over time, the concrete becomes weaker, more porous, and more susceptible to water damage.
Bottom line: Water moves through concrete invisibly—damage spreads before you see visible cracks.
The Capillary Action Problem Nobody Talks About
Here’s something most homeowners don’t know: water can move upward through concrete even without visible cracks.
It’s called capillary action—water wicks up through the tiny pores in concrete the same way it moves up a paper towel when you dip one corner in water.
This means your basement floor can be absorbing groundwater even if your walls look dry. Water travels up from the soil beneath your foundation, moves through the concrete slab, and emerges on the surface where you see it as dampness or staining.
But the real problem? That water’s also traveling sideways and upward into your walls. It’s saturating the concrete at ground level, working its way up the wall, and creating conditions where mold thrives and concrete weakens.
One business owner in Rochester noticed his basement floor was always slightly damp. He figured it was just humidity. Turns out, the concrete slab was absorbing water from below due to poor grading and no perimeter drainage. The moisture was wicking up his walls too. By the time he called for help, the walls were damp up to three feet high, and mold was starting to grow in the mortar joints. He needed full wet basement drainage systems installed, plus wall waterproofing, plus mold remediation. Total cost: $16,800.
The fix? Install a perimeter drainage system that intercepts water before it reaches your walls and floors. This stops capillary action at the source.
Bottom line: Capillary action moves water upward silently—basement floors absorb moisture you can’t see.
Efflorescence Is Your Wall Screaming for Help
That white, chalky powder on your basement walls? It’s not just a cosmetic issue.
Efflorescence happens when water moves through concrete and brings dissolved minerals (salts, calcium) to the surface. As the water evaporates, it leaves those minerals behind as white deposits.
What this really means: water is actively traveling through your concrete. A lot of it. And if you’re seeing efflorescence, the moisture content inside your walls is way higher than it should be.
The danger isn’t the white powder itself—it’s what it signals. That water’s carrying aggressive ions that are breaking down the concrete chemically. It’s saturating the mortar in block walls. It’s reaching any steel components and starting corrosion.
Wiping away efflorescence and painting over it (which some people do) solves nothing. The water keeps moving. The damage keeps happening. You’re just hiding the warning sign.
One homeowner tried to clean efflorescence off her walls and seal it with paint. Six months later, the efflorescence came back worse. The paint actually trapped moisture, making the problem worse. When Healthy Spaces inspected it, they found the concrete was starting to spall behind the paint. She ended up needing to remove the paint, apply a breathable waterproof coating that allows moisture to escape, and install interior drainage to reduce moisture at the source. The second time around cost $8,000 instead of the $2,000 she could’ve spent initially.
Bottom line: Efflorescence means water’s destroying concrete—ignore it and costs multiply fast.
Freeze-Thaw Damage Gets Worse Every Winter
If you’re in Rochester or anywhere with cold winters, you’ve got another problem working against your basement walls year-round.
Water seeps into concrete. Winter comes. Temperature drops below freezing. Water expands by about 9% as it turns to ice. This expansion pushes the concrete apart from the inside. Spring arrives, ice melts, concrete contracts. A new cycle begins next winter, pushing the concrete apart again in a slightly different spot.
After five years of this? You’ve got cracks everywhere. The concrete’s integrity is compromised. It’s weaker, more porous, and water moves through it faster.
The problem compounds because each crack lets more water in for the next freeze-thaw cycle. You’re looking at accelerating damage.
A Rochester homeowner with a basement wall that had minor cracks ignored them for three winters. By year four, the wall had multiple new cracks, some widening noticeably. The concrete was spalling. When Mark’s team assessed it, they found significant structural stress. Fixing it required basement waterproofing, crack repair with flexible sealants, and reinforcement with carbon fiber straps. Cost: $11,200. If he’d sealed those cracks after year one? $2,800.
This is why timing matters so much with fixing basement walls in cold climates. Every winter that passes without addressing water infiltration means more freeze-thaw cycles, more damage, and higher repair costs.
Bottom line: Freeze-thaw cycles compound annually—seal water infiltration before winter arrives.
When Your Contractor Misses Hidden Damage
Not all contractors know how to spot damage that isn’t visible.
A visual inspection might show cracks and dampness. But what about moisture deep inside the concrete? What about rebar corrosion that hasn’t broken the surface yet? What about chemical deterioration happening at the molecular level?
This is where professional assessment tools matter. Moisture meters. Infrared cameras. Concrete strength testing. These aren’t standard tools—they cost money and require training to use correctly.
One homeowner got a quote from a contractor who looked at her basement, saw some dampness, and recommended interior waterproofing for $4,000. She called Healthy Spaces for a second opinion. Mark’s team used moisture mapping and found the concrete itself was significantly deteriorated—the real issue was chemical attack from sulfates in the soil. Interior waterproofing alone wouldn’t hold long-term. She needed exterior waterproofing to stop the sulfate attack, plus interior drainage. The right solution cost $9,500 but would last 20+ years. The cheaper approach would’ve failed in 5-7 years, requiring another $8,000+ in repairs.
Getting a proper diagnosis isn’t an extra cost—it’s the only way to know what you’re actually dealing with.
Bottom line: Visual inspections miss damage—professional diagnostics prevent costly repeat repairs.
The Ripple Effect: How Wall Damage Spreads to Your Whole Foundation
Basement wall problems don’t stay localized. They spread.
Water that penetrates one wall section moves along the foundation. It reaches corners where two walls meet. It travels to the connection between the wall and the floor. It moves under the basement floor slab.
If you’ve got damage in one wall, you probably have moisture issues throughout your foundation—you just haven’t found them all yet.
This is why fixing just one wall without addressing the root cause (drainage, grading, perimeter moisture control) fails. You fix the obvious problem, but water keeps finding new entry points.
One business owner in Rochester had water seeping through the east wall of his basement. He sealed that wall. Water stopped coming through the east side—but started appearing on the south wall two months later. He’d never fixed the drainage problem around the foundation. Water was still pooling against his foundation. It just found a new weak point.
The permanent fix required installing perimeter drainage around the entire foundation, not just waterproofing individual walls. Cost was higher upfront ($12,000 instead of $4,000), but it solved the actual problem instead of playing whack-a-mole with leaks.
Bottom line: Fix one wall without drainage—water finds another weak spot next season.
The Cost of Waiting: A Real Timeline
Let’s be concrete about what happens when you delay fixing basement walls.
Month 1: You notice a crack or some dampness. You think it’s minor. Cost to fix if you act now: $2,500–$4,000.
Month 4: The crack’s wider. Dampness is more frequent. Efflorescence is spreading. You’re starting to worry but still procrastinating. Cost to fix now: $4,500–$7,000.
Month 8: Water’s actively seeping during rain. Mold smell is noticeable. The concrete’s visibly deteriorating in spots. You finally call for a quote. Cost to fix now: $8,000–$14,000. Plus you need mold remediation: $3,000–$8,000.
Month 14: The wall’s bowing slightly. Structural damage is evident. Mold’s everywhere. The concrete’s crumbling. You need professional help immediately. Cost to fix now: $15,000–$30,000+. Your foundation’s compromised. You might need structural reinforcement or partial wall replacement.
That’s the difference between acting early and waiting. A problem that cost $3,000 to fix in month one costs $25,000+ by month fourteen.
Bottom line: Early action costs 1/8th the price of waiting—the math is brutal.
What Professional Fixing Basement Walls Actually Includes
When Mark’s team at Healthy Spaces handles basement wall repair, they’re not just slapping sealant on cracks.
A complete repair includes diagnosis (finding the root cause), moisture management (stopping water at the source), wall protection (sealing penetration points), structural assessment (checking if reinforcement’s needed), and ongoing monitoring (making sure the fix holds).
This approach costs more upfront than a quick patch, but it actually solves the problem. You’re not going to call another contractor in three years because the water came back.
If you’re serious about fixing basement walls—not temporarily stopping leaks, but actually fixing them—you need someone who’ll dig into the root cause and address it.
Bottom line: Complete repairs cost more initially but save thousands in repeat fixes.
FAQ: Common Questions About Hidden Basement Wall Damage
How do I know if water damage is happening inside my concrete walls?
Look for efflorescence (white powder), dampness that appears without recent rain, soft spots when you press the concrete, or a musty smell. Professional moisture testing is the only way to be certain—most damage happens invisibly.
Can concrete deterioration be reversed?
No, but it can be stopped. Once concrete’s chemically attacked or structurally damaged, you can’t restore it. You can stop water infiltration and prevent future damage with waterproofing and drainage.
What’s the difference between surface sealing and deep concrete protection?
Surface sealing (paint, caulk) stops water from entering for a few years. Deep protection (waterproof membranes, exterior coatings, drainage systems) stops water at the source and protects the concrete itself from chemical attack.
How often should I check my basement walls for hidden damage?
Inspect visually every season, especially after heavy rain or snowmelt. If you’ve had water issues before, get a professional moisture assessment annually—hidden damage accelerates fast.
Is rebar corrosion fixable without replacing the wall?
Early-stage corrosion can be managed with waterproofing to stop water infiltration and sometimes with corrosion inhibitors. Advanced corrosion that’s cracking the concrete usually requires structural reinforcement or wall replacement.
Can I waterproof my basement walls myself if I suspect hidden damage?
Not safely. You need professional assessment first to understand what’s actually happening. DIY waterproofing without knowing the root cause fails because you’re not addressing the real problem.
Mark and his team at Healthy Spaces have spent nearly 20 years uncovering the hidden damage that most contractors miss. They’ve saved Rochester homeowners tens of thousands by catching problems early—before they become catastrophic.
If you suspect your basement walls have damage you can’t see, don’t guess. Contact Healthy Spaces for a professional assessment. Find out what’s really happening inside your concrete. Get a plan to fix it right the first time.